【Deep Dive Essays】Bowline Knot Basics – Using the "King of Knots" Correctly
北村 智明
稜線ディープダイブ

Karabiners and slings are usually thought of as tools for rock climbers. But for ordinary hikers, they matter just as much. An unplanned bivouac. An unexpected rappel. Crossing a stretch of fixed rope. Helping an injured partner down the mountain. In situations like these, whether you’re carrying the right gear — and know how to use it — can be the difference between life and death. The differences in strength between karabiner shapes, how to choose sling length, why a locking gate matters, and how to read strength ratings: this article covers the essentials every beginner should know, from a practical, hands-on perspective.
Article Info
Difficulty: Beginner
Audience: Hikers with less than 1 to about 3 years of experience
Karabiners and slings are strongly associated with rock climbing. But their importance to general hiking is far from minor.
In recent years, as trails have deteriorated, more sections now have fixed ropes or chains installed — on rocky sections of the Northern Alps, the chained pitches of Yatsugatake, the steep climbs of the Southern Alps. In places like these, clipping a karabiner and sling to the fixed line allows you to self-belay, protecting against a fall.
An unplanned rappel is also worth preparing for: escaping after getting lost, retreating in bad weather, rescuing an injured person. With a rope, karabiners, and slings, your options open up considerably. In 2023, statistics on mountain accidents in Japan showed that getting lost accounted for roughly 40% of all incidents — this gear isn’t only for technically difficult terrain.
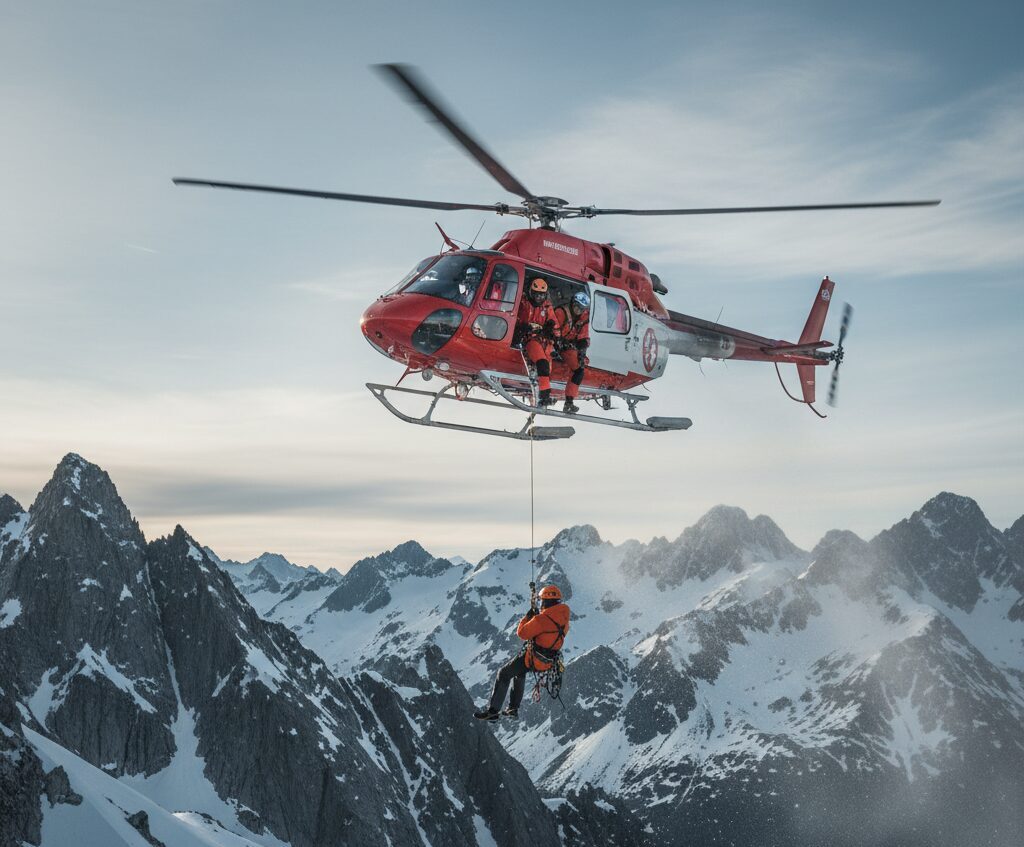
It also proves valuable during a bivouac: pitching a tarp shelter (known in Japanese as a tsuerto, from the German Zelt), securing your pack, rigging a makeshift anchor point. A handful of karabiners and two or three slings dramatically expand what you can do in an emergency.
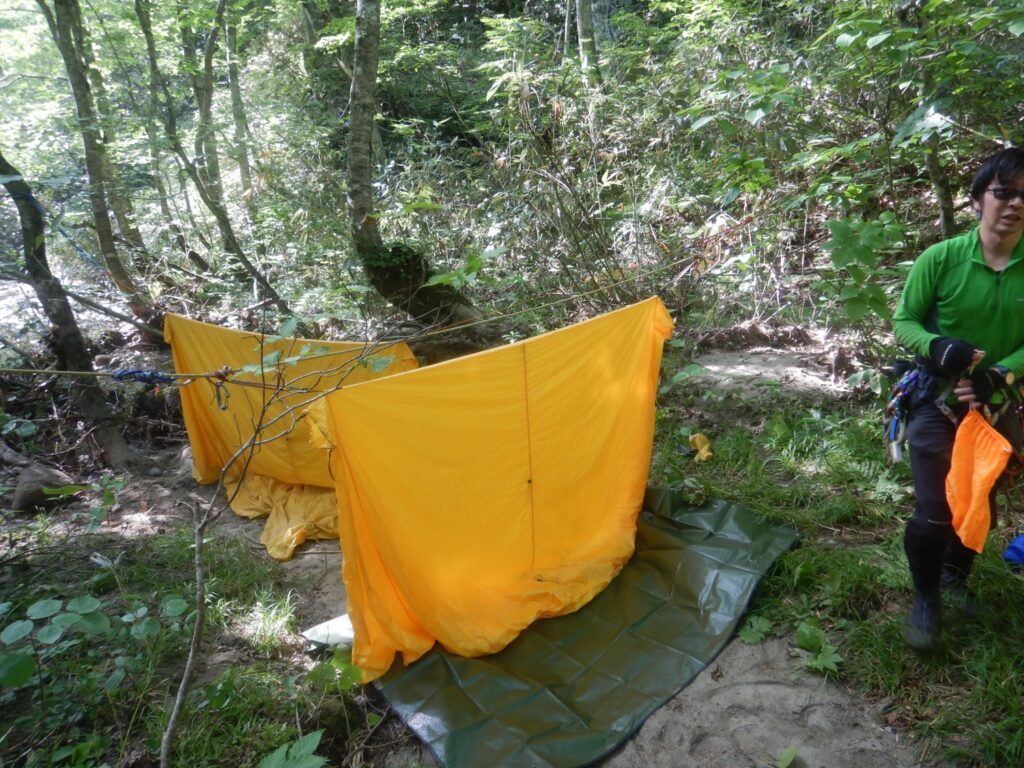
Casual requests for rescue helicopters have become a growing concern in Japan. Minor route-finding trouble, exhaustion, a small injury — situations a hiker could often walk out of on their own are increasingly met with the easy assumption that “calling a helicopter is simpler.”
Rescue helicopter dispatches draw on significant public funds, and every non-urgent call risks delaying a response to someone in genuine danger. In a 2024 review, roughly 30% of helicopter dispatches were later assessed as situations the hiker could have handled by descending under their own power.
Karabiners, slings, and a party leader carrying roughly 30m of auxiliary rope — with this basic kit and the skills to use it, many situations that would otherwise become “rescue requests” become “self-extraction” instead. Rappelling down a steep slope, assisting an injured member on the descent, rigging a simple fixed line for safety: being able to do these things alone can go a long way toward reducing the number of helicopters called out like taxis.
Take responsibility for your own safety. That principle sits at the foundation of accident prevention in the mountains.
That said, none of this gear provides safety just by being in your pack. Only by understanding how each type differs, and learning to use it correctly, does it become a genuine safety tool.
A karabiner looks simple, but each part has a distinct role.
Gate: the part that opens and closes. This is where you clip in a rope or anchor point.
Spine: the solid side opposite the gate — the strongest part of the karabiner.
Locking gate (locking mechanism): the system that prevents the gate from opening unintentionally. Comes in screw-lock and auto-lock varieties.
A karabiner’s strength varies significantly depending on the direction of the load — and this is where beginners most often get it wrong.
Major axis (lengthwise): load running from the spine toward the gate. This is where a karabiner reaches its maximum rated strength — typically around 20–24 kN for a standard karabiner.
Minor axis (crosswise): a sideways load. Strength drops to roughly a third of the major-axis rating — around 7–9 kN.
Gate open: strength with the gate open. This also drops to around 7–9 kN.
1 kN is roughly equivalent to 100 kgf, so 20 kN works out to about 2,000 kgf — more than enough, it would seem, to handle a person’s body weight and the force of a fall. But under a sideways load, or with the gate open, that strength falls off sharply. Overconfidence in “how strong a karabiner is” has contributed to more than a few accidents.
For any hiking application where you’re trusting the karabiner with your life, always choose one with a locking gate.
Non-locking karabiners are fine for organizing gear or for intermediate points used together with a sling, but they’re not suited as your primary tool for self-belay or rappelling — contact with a rock edge or another karabiner can pop the gate open without warning.
In a 2021 fall accident in the Northern Alps, the use of a non-locking karabiner for self-belay was cited as a factor that worsened the outcome. Saving a few hundred yen ended up costing something far more serious.
Karabiner shape is optimized for particular uses. Here are the main shapes every hiker should know.
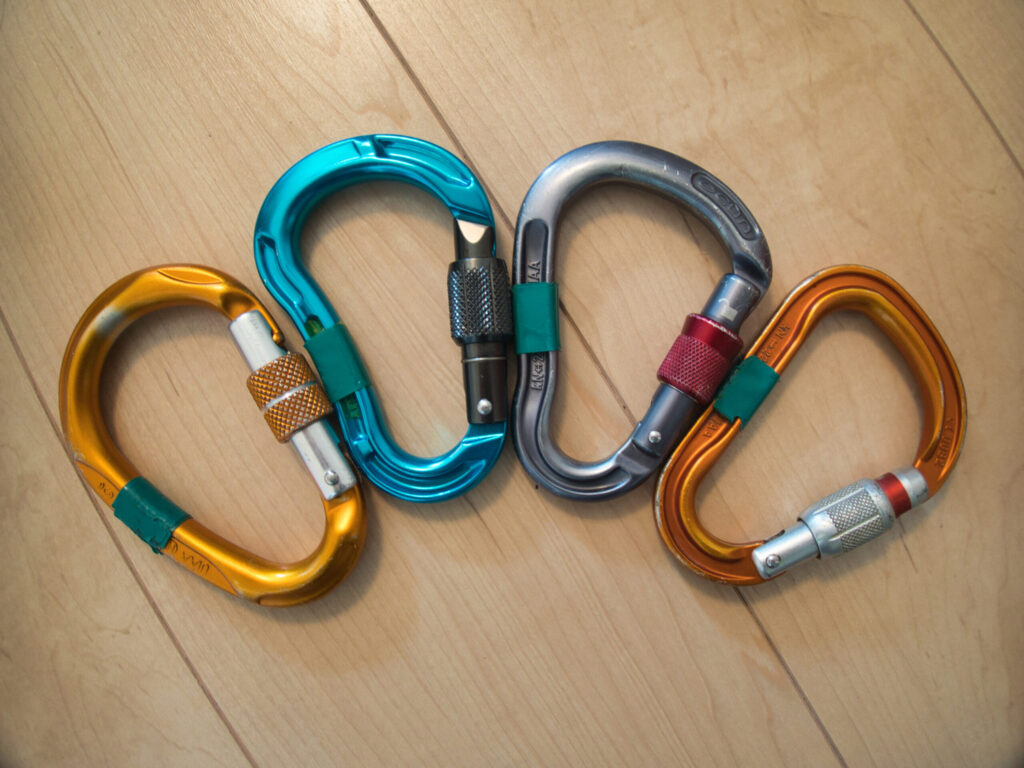
Characteristics
An asymmetric, pear-like shape — wider at the gate, narrower at the spine. The name comes from the German Halbmastwurfsicherung (“half-clove-hitch belay”).
Advantages
Drawbacks
Recommended use
Rappelling in an emergency, belaying with a Munter hitch. If a hiker can only own one karabiner, the HMS shape offers the most versatility.
TOM (mountain guide): “It handles pretty much everything — rappelling, hauling, you name it. Very versatile.”
Representative products
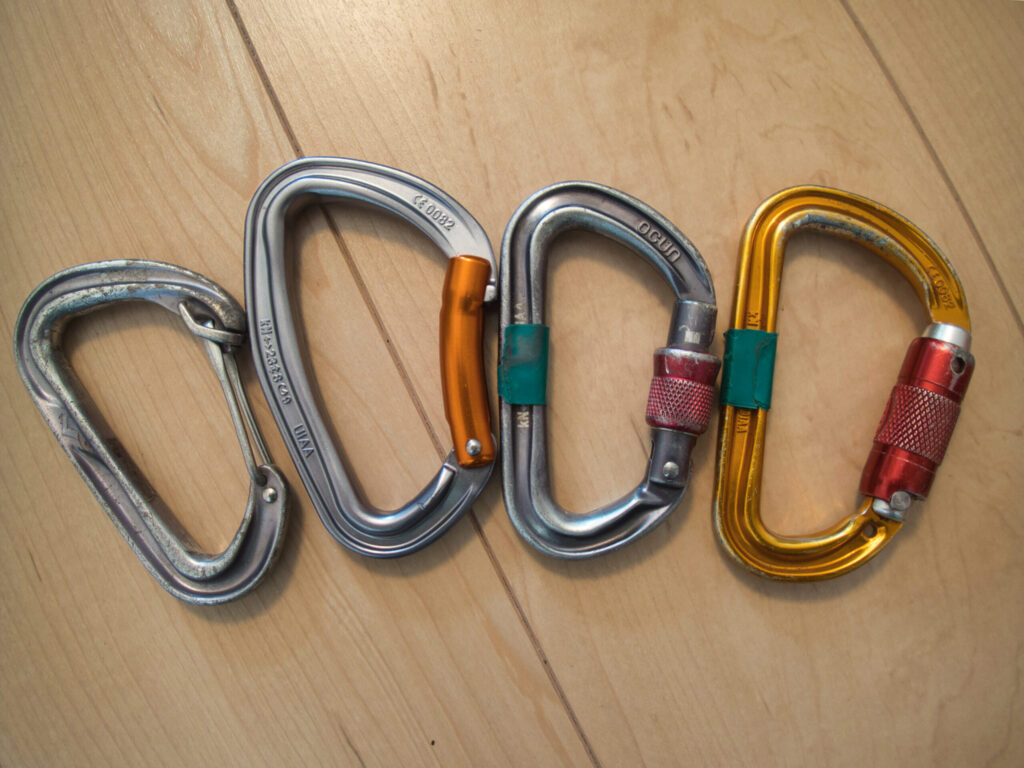
Characteristics
A tilted D shape — a straight spine side and a curved gate side.
Advantages
Drawbacks
Recommended use
Clipping into a fixed rope, pairing with slings, or whenever you want to save weight. A locking version suits self-belay; a non-locking version works well paired with a sling or for organizing gear.
Representative products
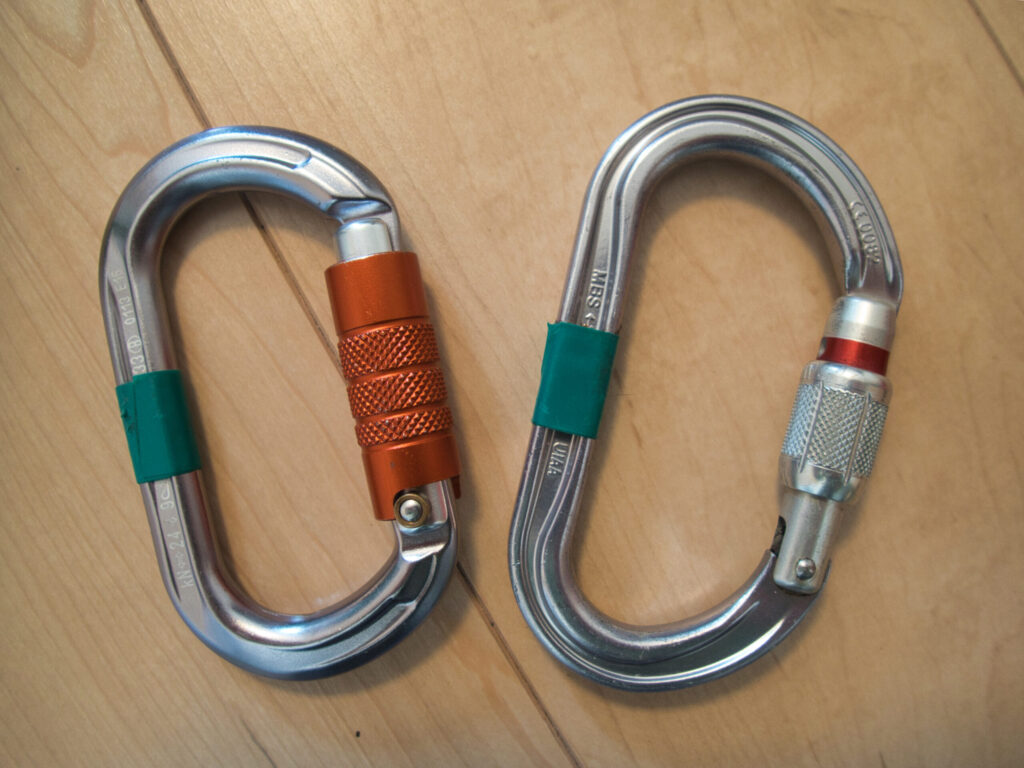
Characteristics
A symmetrical oval — the most classic shape, in continuous use since the 1960s.
Advantages
Drawbacks
Recommended use
Pitching a tarp shelter during a bivouac, hauling systems, linking multiple karabiners. A useful second karabiner for a beginner.
Representative products
The locking mechanism itself also shapes how usable — and how safe — a karabiner is.
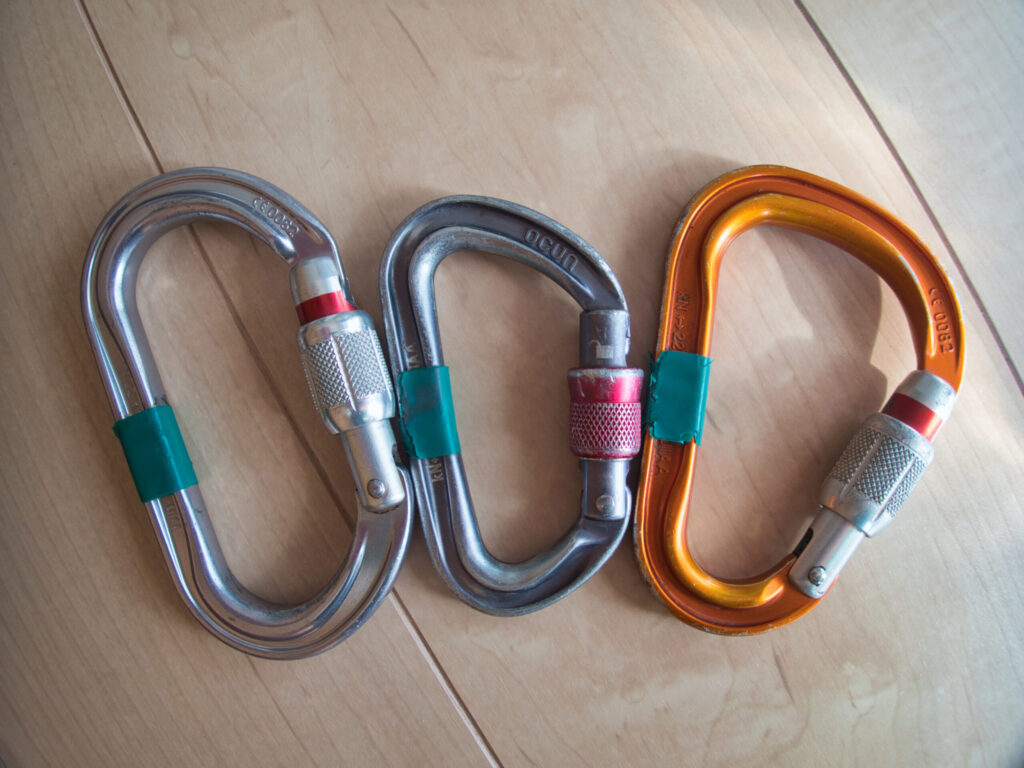
Mechanism
A sleeve you rotate by hand to lock the gate. The most reliable and dependable type.
Advantages
Drawbacks
Best suited for
Beginners, winter mountaineering, and any situation where reliability matters most.
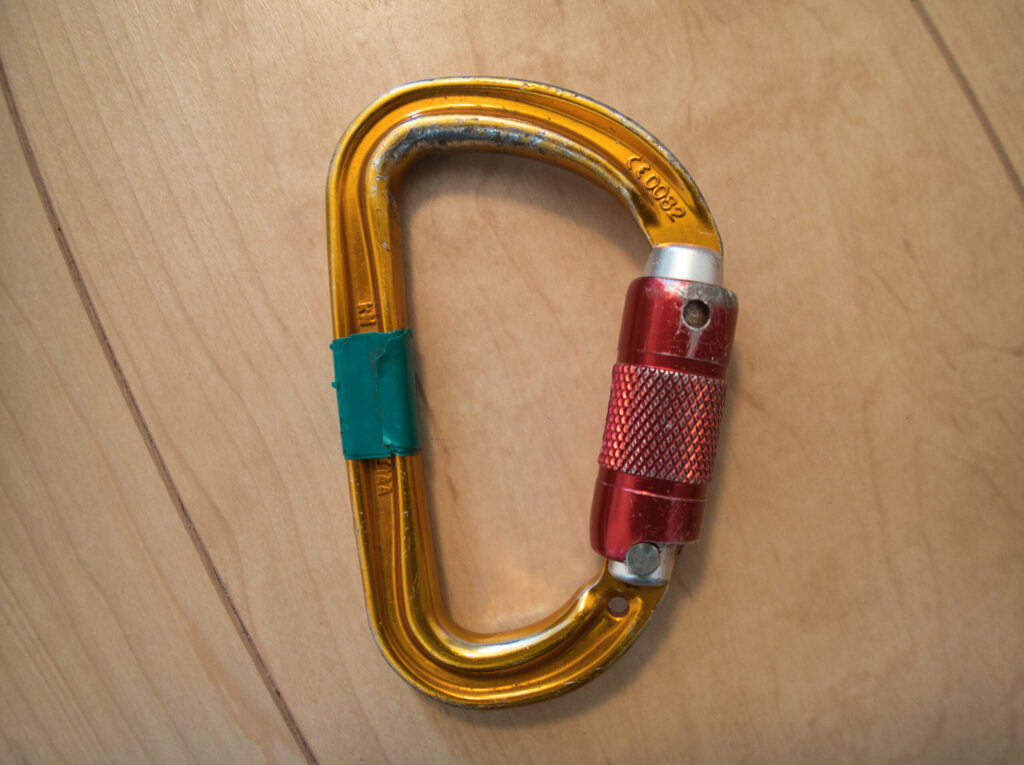
Mechanism
The gate locks automatically once closed. Opening it requires a specific motion — twisting or pushing up, for example.
Advantages
Drawbacks
Best suited for
Intermediate climbers and above, routes with more climbing involved, and situations where you’re clipping and unclipping frequently.
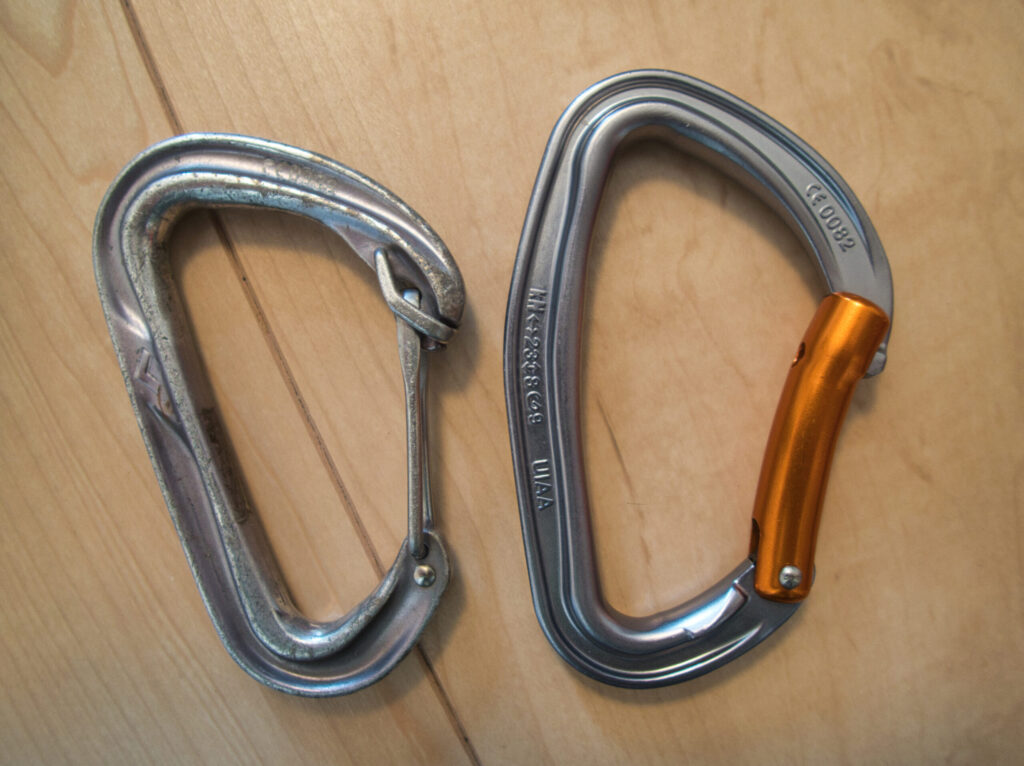
Characteristics
A simple gate with no locking mechanism — light and fast to use.
Advantages
Drawbacks
Recommended use
As a substitute quickdraw when paired with a sling, for organizing your gear rack, or as an intermediate point when used together with a sling. Not for use as your primary self-belay or rappelling device.
For a hiker’s first piece of gear, the rule of thumb is simple: a screw-lock HMS or oval karabiner. Prioritize reliability and versatility above everything else.
Think of non-locking karabiners as a supporting role, used together with slings rather than on their own.
Paired with a karabiner, a sling opens up a wide range of uses.
60cm
120cm
240cm (or 180cm)
Nylon (polyamide)
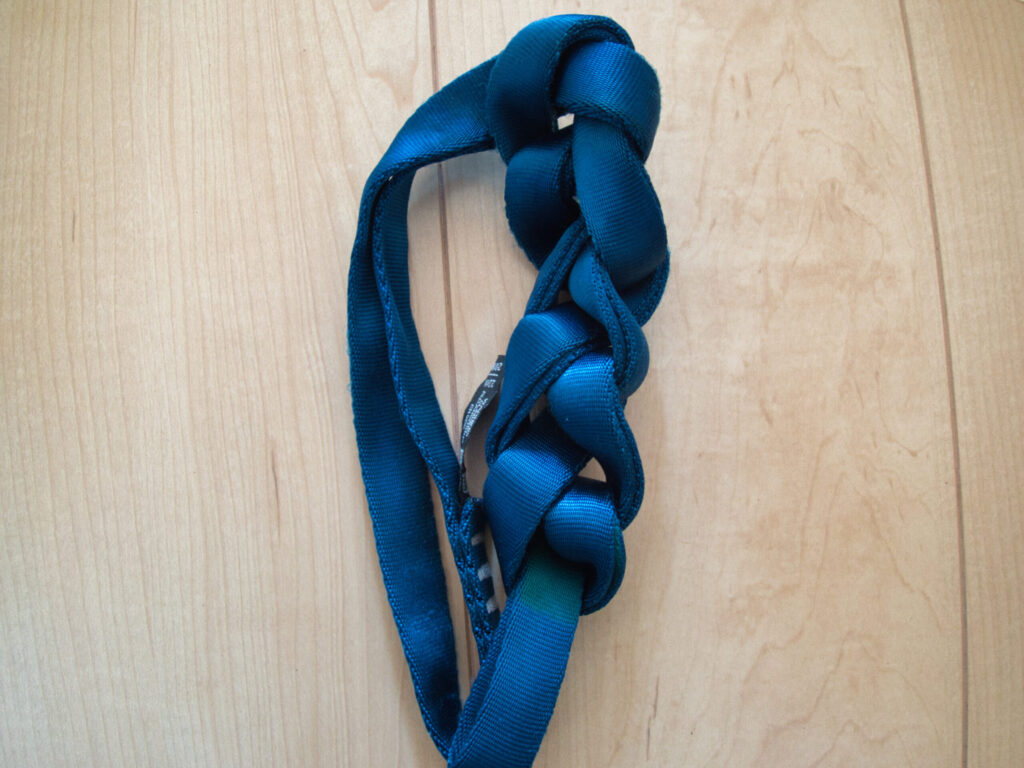
Dyneema (ultra-high-molecular-weight polyethylene)
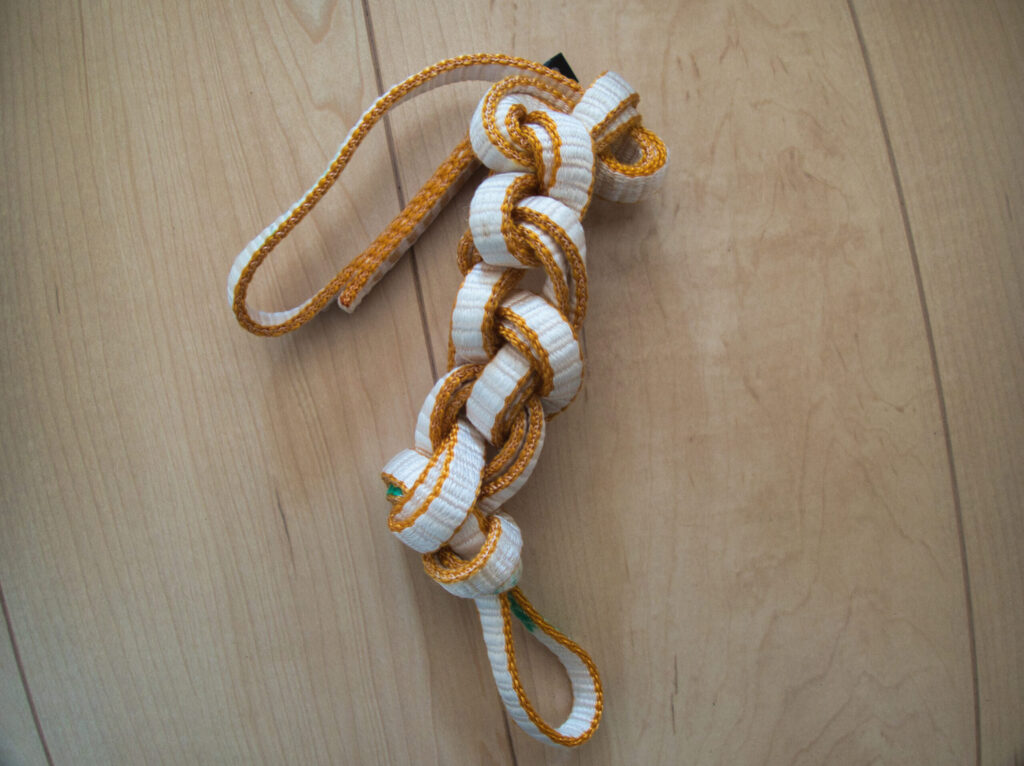
For general hiking, Dyneema slings are widely used because of their light weight. That said, UV exposure degrades them over time, so replacement every 2–3 years is recommended depending on how often they’re used.
TOM (mountain guide): “I hang mine on trees so my pack doesn’t get dirty, and use them in the snow to keep from dropping a pack.”
Slings also carry a printed strength rating — typically around 22 kN for a standard 120cm sling. Keep in mind that tying a knot in a sling reduces its strength to roughly 50–60% of the rated value.
Here’s a sample loadout for carrying this gear as emergency safety equipment.
Personal gear
| Gear | Type (length/shape) | Qty | Main use | Approx. price |
|---|---|---|---|---|
| Sling | 60cm | 2–3 | Alpine quickdraw, self-belay adjustment | ¥1,200–1,800 each |
| Sling | 120cm | 3–4 | Intermediate protection, makeshift harness, general use | ¥1,500–2,500 each |
| Sling | 240cm | 1 | Anchor building, long-reach protection | ¥2,500–3,500 |
| Karabiner | Locking (HMS) | 2 | Self-belay, rappelling | ¥2,000–2,500 each |
| Karabiner | Locking (offset D) | 1–2 | Self-belay, anchor building | ¥2,000–2,500 each |
| Karabiner | Non-locking (D/wire-gate) | 3–5 | Intermediate points with sling, gear organization | ¥500–1,000 each |
Personal gear — total weight: approx. 600–800g
Personal gear — total budget: approx. ¥15,000–25,000
Additional gear for the party leader
| Gear | Type | Qty | Main use | Approx. price |
|---|---|---|---|---|
| Auxiliary rope | Static, 8–9mm × 30m | 1 | Rappelling, assisting injured members, simple fixed lines | ¥8,000–12,000 |
| Karabiner | Locking (HMS), additional | 1–2 | Rope work | ¥2,000–2,500 each |
Leader’s additional gear — weight: approx. 1,200–1,500g
Leader’s additional gear — budget: approx. ¥12,000–17,000
When the party leader carries roughly 30m of auxiliary rope, the possibilities for self-rescue expand considerably: rappelling out of a wrong turn, assisting an injured member down the mountain, rigging a simple fixed line on a steep section. Being able to do these things on your own can reduce the number of unnecessary helicopter requests.
A 30m length is enough to cover a typical pitch (roughly 15–25m) on a rocky section or steep slope, while staying realistic in terms of weight. A 50m rope (2,000–2,500g) is necessary for serious climbing, but it’s more than a general hiker needs for self-rescue purposes.
TOM (mountain guide): “It comes in handy in all kinds of situations — caught in the rain on a rocky section of the Northern Alps, getting past a rockslide, or crossing a stream that’s running high.”
Stage 1 (top priority)
This combination alone covers emergency rappelling and basic self-belay.
Stage 2
This improves your ability to build intermediate points and handle more complex situations.
Stage 3
Combining a sling with a non-locking karabiner gives you an alpine quickdraw, and makes sorting gear more efficient.
The usual approach is to rack your slings onto your karabiners as a set. If you’re wearing a harness, clip them to your gear loops; for general hiking without a harness, you can attach them to your pack’s shoulder strap or hip belt instead.
The auxiliary rope used in general hiking — a static rope — is fundamentally different from the dynamic rope used in rock climbing. Not understanding this difference can lead to a serious accident.
Dynamic rope (for climbing)
Static rope (auxiliary rope)
❌ Never use a static rope to arrest a fall.
A static rope doesn’t absorb impact, and a fall onto one can cause severe harm. Take a 70kg person falling with a fall factor of 1 (a fall distance equal to the rope’s length): with a dynamic rope, the impact force lands around 8–10 kN; with a static rope, it can reach 15–20 kN — beyond what the human body can safely withstand.
✅ Always keep it under tension.
An auxiliary rope should always be kept taut. If it’s allowed to go slack, a fall onto it produces the same dangerous shock loading characteristic of a static rope.
✅ Recommended uses
✅ What a 30m rope can do
The party leader’s 30m auxiliary rope proves its worth in situations like these:
Case 1: Escaping after getting lost
If you’ve wandered onto the wrong ridge and ended up on steep terrain, rappelling back down to the correct route can sometimes be safer than climbing back up. 30m is enough to descend a typical pitch (roughly 15–25m) on a rocky section or steep slope.
Case 2: Assisting an injured member down the mountain (short-roping)
This technique involves belaying an injured member with the rope as they descend. A full carry-down may not be feasible, but if the person can still walk, short-roping — belaying them with a rope while they walk under their own power — can make self-descent possible. This alone can prevent the need for a helicopter in many cases.
Short-roping is effective for conditions like a sprained ankle or mild knee pain, where someone “can walk but is unsteady.” It’s most valuable on terrain where a person would normally be able to walk but could easily lose their balance — steep sections in forested terrain, loose scree, or wet rock.
That said, short-roping demands real skill. A misjudgment or mishandling by the leader can turn one accident into two. It should always be practiced beforehand, ideally through a course or training session.
Case 3: An unexpected rock section
If a retreat route in bad weather forces you across a rocky section you wouldn’t normally use, rigging a simple fixed line can let the whole party cross safely.
✅ How to self-belay
Clip a sling and karabiner onto the fixed rope and keep it under tension as you move. The goal is to prevent a fall — not to catch one.
In 2019, in the Southern Alps, a hiker using a static rope to arrest a fall was seriously injured after falling just a few meters. The rope didn’t break — but the impact caused internal injuries.
An auxiliary rope isn’t a cure-all. Understanding its limits, and using it correctly, is what keeps it part of a safe climb.
◆ Top priority (Stage 1)
◆ Next to add (Stage 2)
◆ If you have room in your budget (Stage 3)
◆ Additional gear for the party leader
Carrying a 30m auxiliary rope opens up the possibility of resolving many emergencies on your own. Rather than calling a helicopter like a taxi, being able to handle a situation yourselves is part of what it means to take real responsibility as a hiker.
◆ Buying tips
Once you’ve bought your gear, start practicing on a low mountain: tying a Munter hitch, clipping a rope into a karabiner, building a makeshift harness with a sling, the basic motions of rappelling. None of this comes together overnight.
Consider joining a course run by a local mountaineering club or a guide service. Owning the gear isn’t enough — you also need to be able to use it under pressure. Building real skill is what turns gear into genuine safety.
In particular, take the time to internalize the limits of an auxiliary rope, and the rule that a static rope must never be used to arrest a fall — this is something you need to understand in your hands, not just in your head.
Karabiners and slings are gear you trust with your life in an emergency. The differences between shapes, how locking mechanisms work, how to choose sling length, what strength ratings mean, and how to correctly use an auxiliary rope — this foundation supports the judgment calls that matter most when it counts. I hope this article helps you choose your gear with confidence.
This article walked through the essentials of karabiner and sling selection for general hikers: why this “climbing gear” matters even on non-technical trails, how karabiner shape and locking mechanism affect safety and usability, how to choose sling length and material, a sample gear loadout for a route like the Northern Alps above 3,000m, and the critical distinction between dynamic and static rope when using an auxiliary rope for self-rescue. The core message throughout is that gear alone isn’t safety — understanding its limits and practicing its use are what make it count in an emergency.