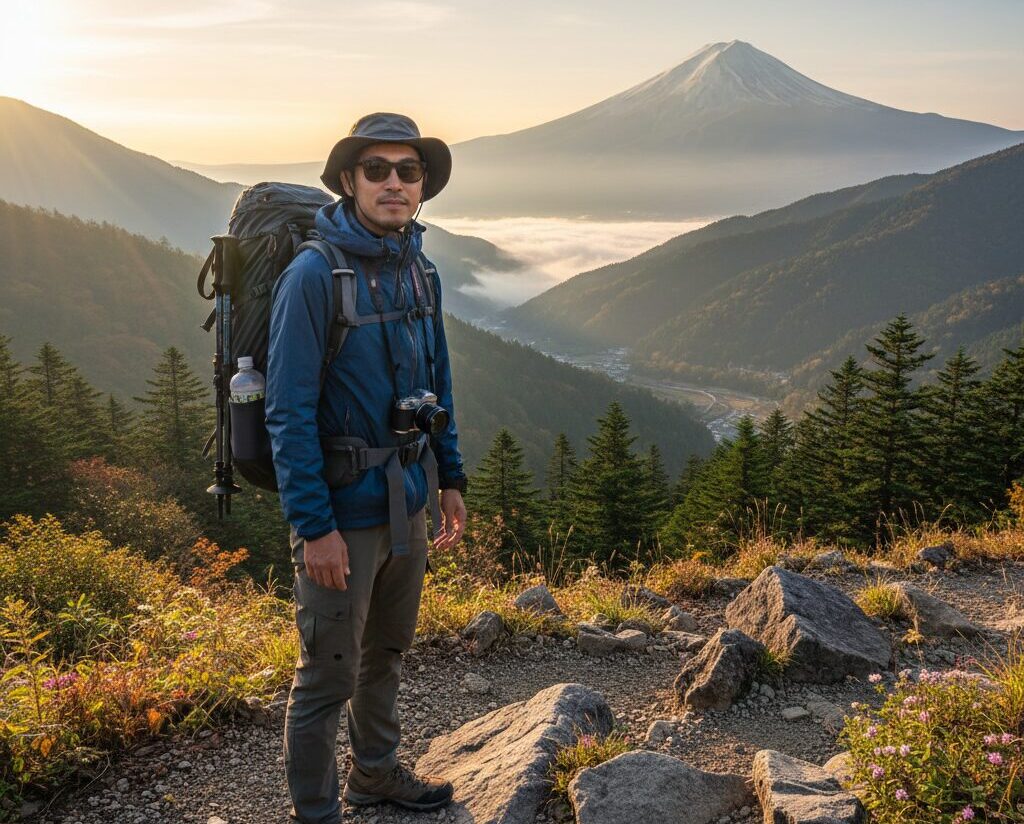
【Deep Dive Essays】5 Best Mountains for Beginner Hikers Near Tokyo — A Guide's Perspective on Choosing Your First Peak
北村 智明
稜線ディープダイブ
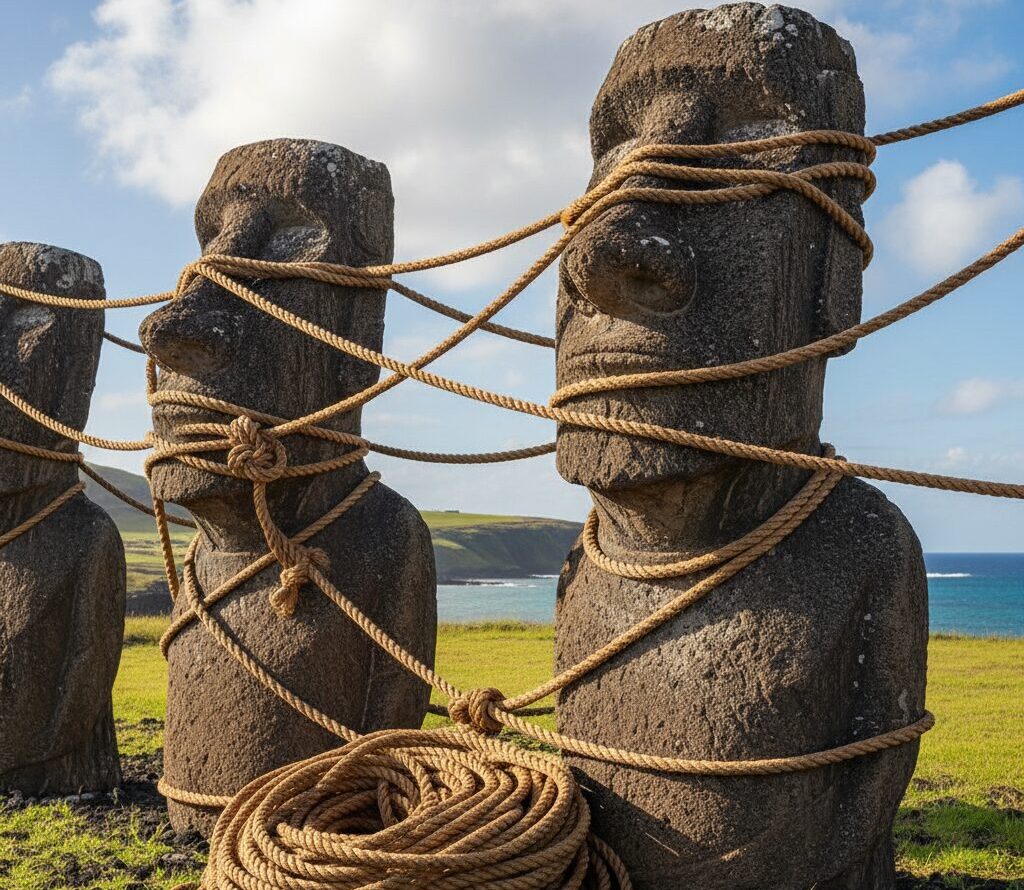
The figure-8 knot is the cornerstone of ropework in the mountains. True to its name, this knot traces the shape of the number “8,” and is used across every discipline — from rock climbing and sawanobori (Japanese stream climbing) to securing anchors on snow-covered peaks. Deceptively simple yet full of depth, this is a practical guide for beginners to master the figure-8 with confidence.
【Article Info】
目次
Dozens of knots exist in the mountaineer’s repertoire. There are clear reasons why the figure-8 is considered the knot to learn first.
The first is strength. The figure-8 retains a relatively high proportion of a rope’s rated breaking strength at the knot itself. A typical climbing rope breaks at around 22 kN (approximately 2,200 kg), and the figure-8 preserves roughly 70–75% of that strength — a strong result compared to other knots.
Strength Retention by Knot Type
(Reference: 10.5mm climbing rope, breaking strength 22 kN)
| Knot | Strength Retention | Approx. Load |
|---|---|---|
| No knot | 100% | 22.0 kN |
| Figure-8 | 70–75% | ~16.0 kN |
| Bowline | ~65% | ~14.3 kN |
| Clove hitch | ~60% | ~13.2 kN |
| Overhand | ~50% | ~11.0 kN |
✓ The figure-8 retains 70–75% of breaking strength, is visually easy to inspect, can be untied after loading, and is ideal for beginners.
⚠ All knots reduce rope strength. Tying correctly is paramount. Always leave at least 10 cm of tail. Inspect regularly.
The second reason is visual clarity. The distinctive 8-shape is easy to read at a glance, making it straightforward to verify whether the knot is correct. In the mountains, checking your partner’s knot — and your own — is a frequent necessity. A form that leaves no room for ambiguity is fundamental to safety.
Third, the figure-8 can be untied after being loaded. Even following a fall or heavy load on the rope, it can be released with relative ease. For gear that is used repeatedly, this is a significant practical advantage.
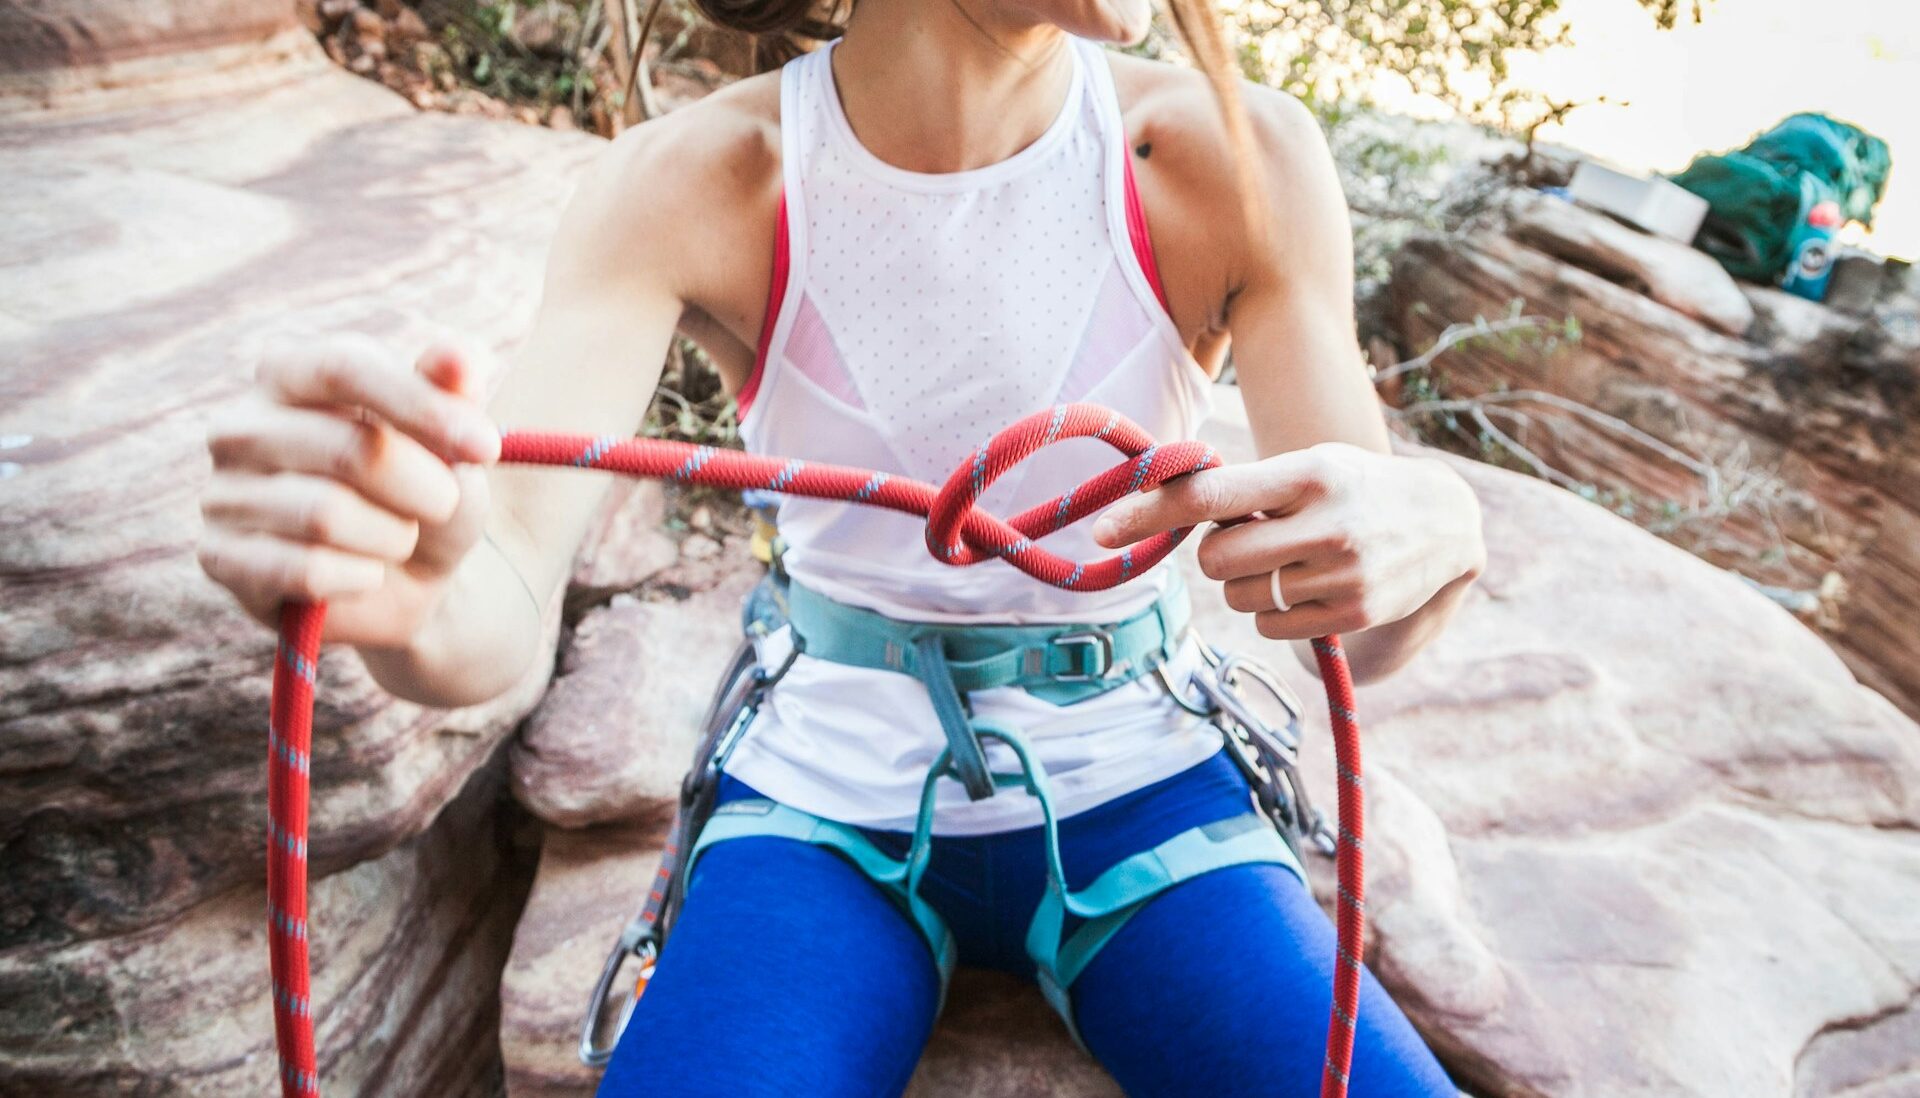
Several variations of the figure-8 exist, but the most commonly used in mountaineering is the follow-through figure-8. It is the actual form used to tie into a harness for climbing and stream climbing — making it the right knot for beginners to learn first.
The follow-through method is detailed step by step below.
First, tie a basic figure-8 knot at a point approximately 60–80 cm from the end of the rope.
Procedure:
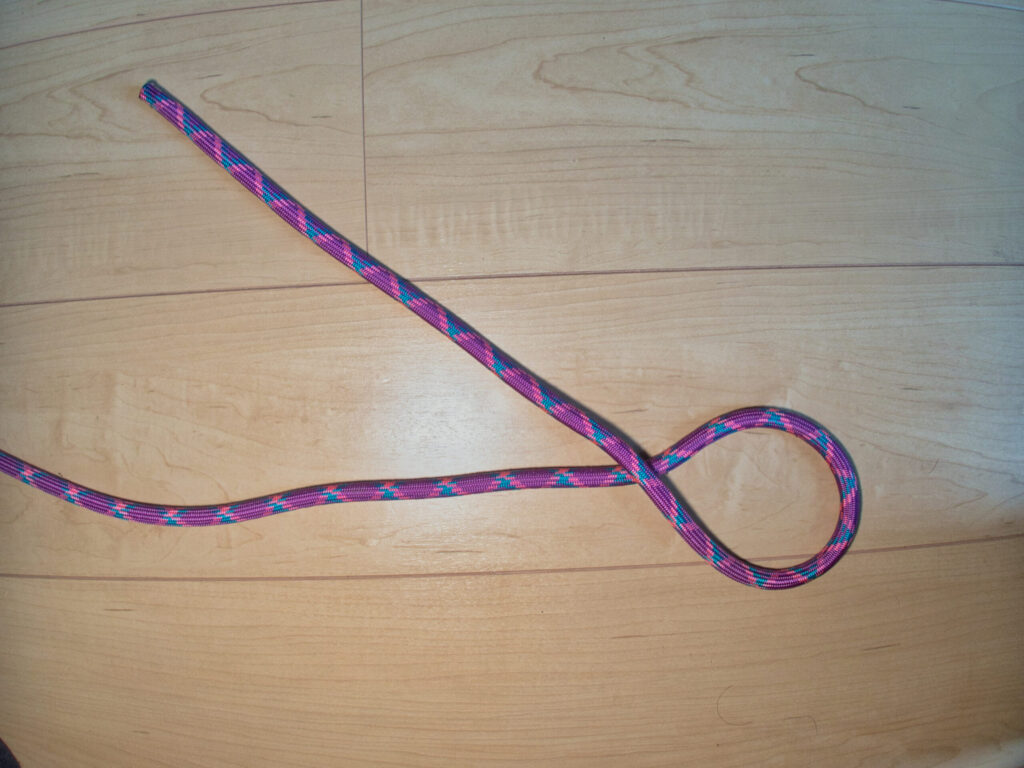
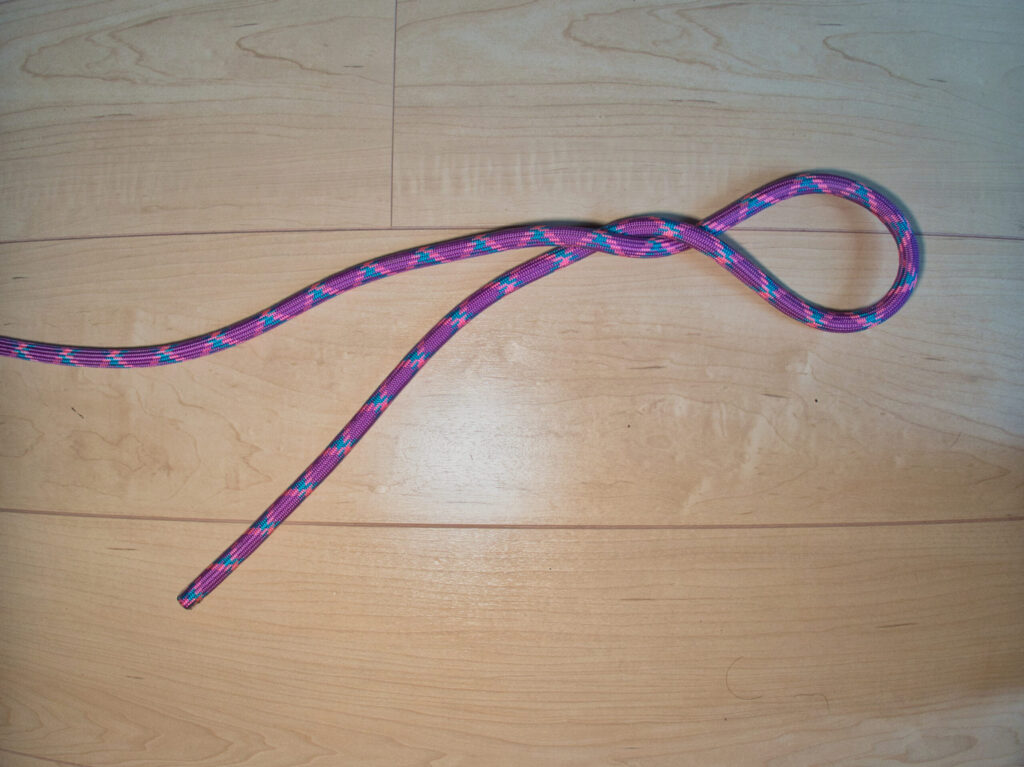
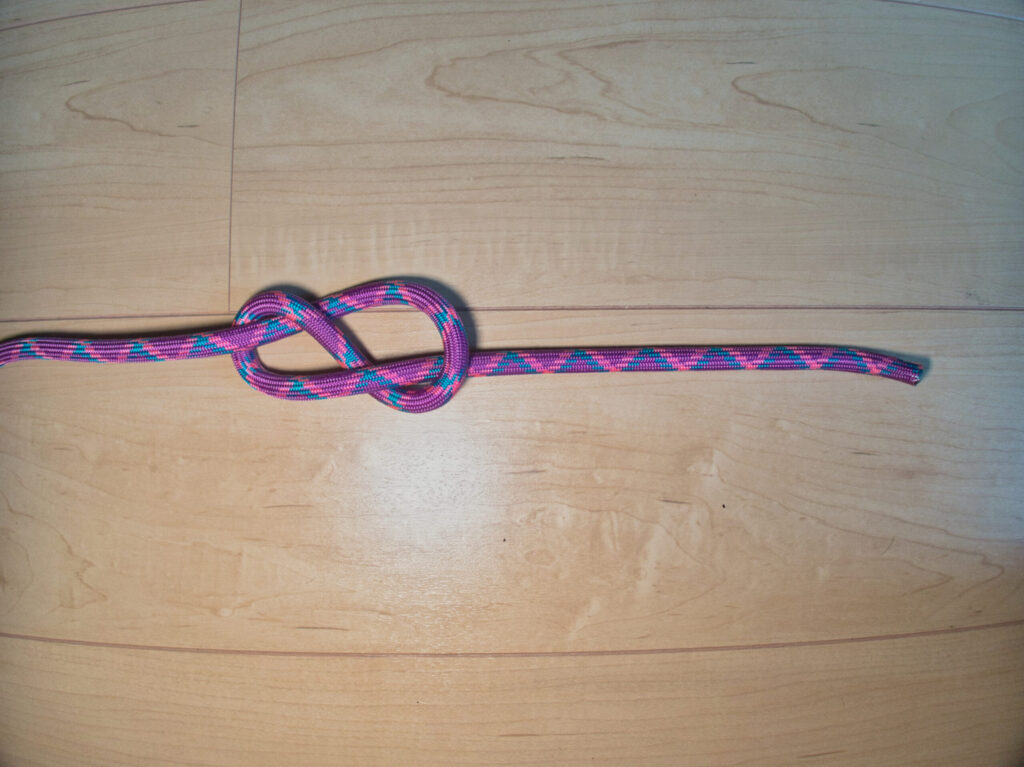
Result: A figure-8-shaped knot.
TOM’s Tip: Twisting the rope twice before passing it through the loop causes kinking and weakens the rope — avoid it.
Hold the rope extending from the working-end side of the figure-8.
This tail will be used to thread through the harness and complete the follow-through.
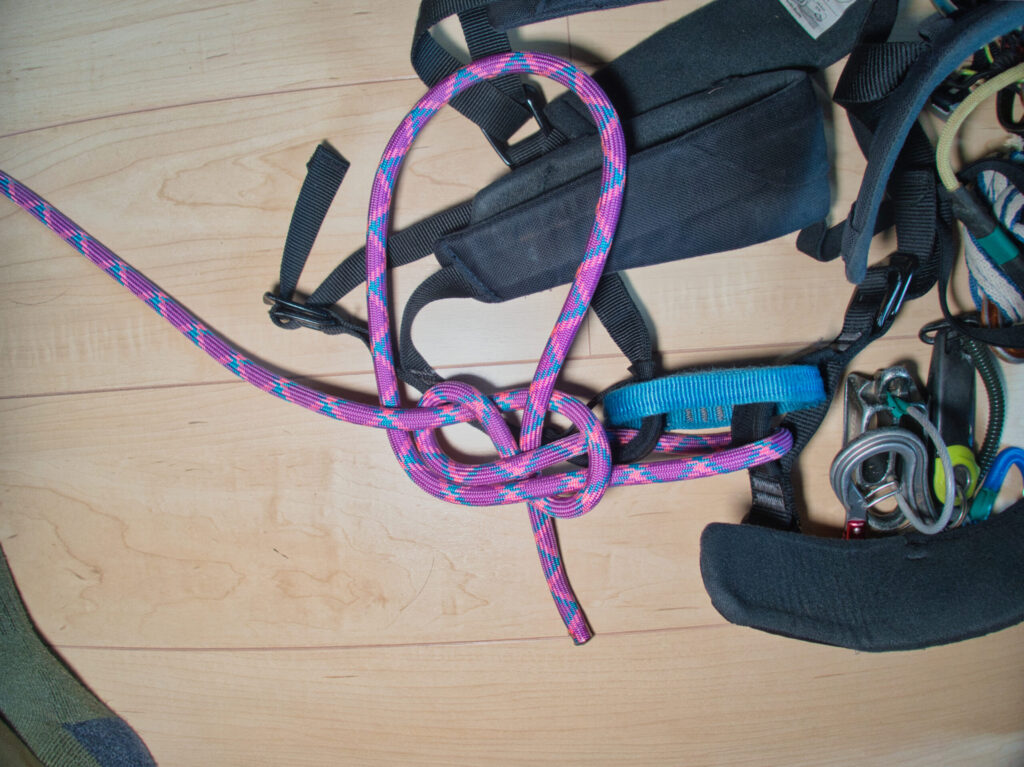
When tying directly to a harness, pass the working end through the harness’s tie-in point.

TOM’s Tip: Thread through the tie-in point — not the belay loop.
Note: Leave approximately 10 cm (one fist-width) of space between the knot and the harness.
If you are securing gear rather than a harness, skip this step.
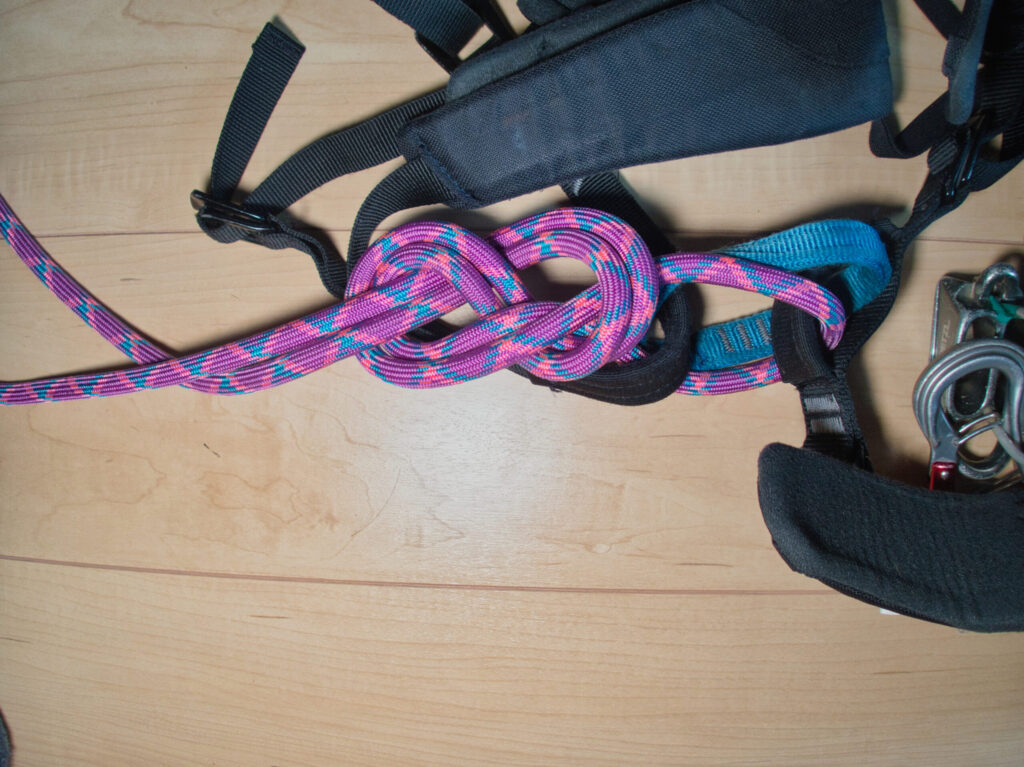
This is the most critical step. Using the working end, retrace the path of the existing figure-8 — but in reverse.
Specifically:
Mental image:
Checkpoints:
Note: Pulling sharply will distort the knot. Tighten slowly and evenly.
✓ Figure-8 shape: A clear 8 is visible, formed by two parallel strands.
✓ Four crossings: Count and confirm.
✓ Parallel strands: Two strands run side by side throughout.
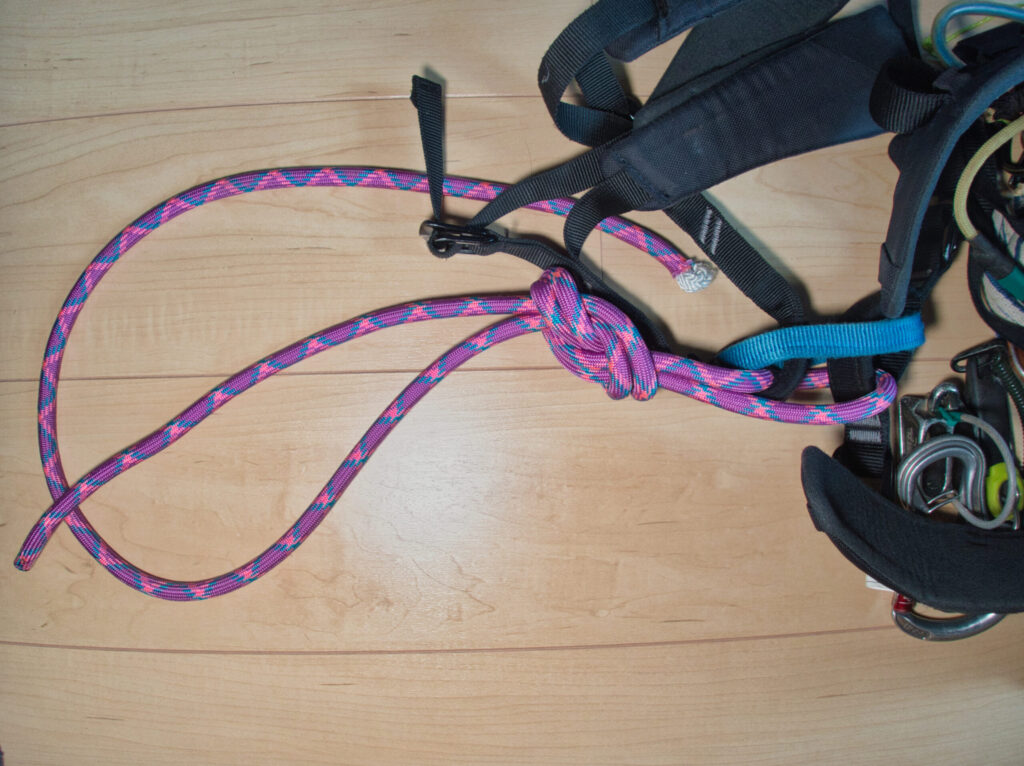
✓ Tail ≥ 10 cm: The end is not too short.
✓ Distance from harness: Approximately 10 cm (one fist-width) between knot and harness.
All clear? You’re done.
TOM’s Tip: Don’t forget to dress the tail properly!
Reason 1: Most practical
Reason 2: Easy to understand
Reason 3: Just trace
Reason 4: Errors are easy to spot
【Important Note】
Trying to learn the figure-8 from text alone is difficult. Please do the following:
- Search YouTube for “figure-8 knot tying”
- Watch multiple videos (different instructors describe it differently)
- Hold a real rope while watching
- If possible, have an experienced climber teach you in person
The figure-8 is a technique learned by watching, imitating, and repeating.
These six steps should be performed slowly and deliberately at first. Speed will follow. Prioritize accuracy — that is the path to reliable mastery.
An equally important part of learning the figure-8 is being able to judge whether you have tied it correctly.
Check the shape first. Viewed from the front, does it form a clear figure-8? Are there four crossing points, each sitting neatly? Are there any twists or overlaps? Verify these visually.
Trace the rope path. Follow the rope from end to end and confirm the figure-8 pathway is correct. The reversal point is where mistakes are most common — trace slowly with a finger.
Check tail length. If less than 10 cm remains, consider retying. Safety margins should always be generous.
Check the firmness of the knot. If it is too loose, it may shift under load. Give it a gentle tug and confirm the entire knot is evenly tightened.
Most common: tracing the wrong path. When retracing the figure-8, it is easy to veer off course, resulting in a distorted knot with significantly reduced strength. Fix: clearly visualize the shape before you start, and treat the upper and lower halves of the 8 as separate steps.
Uneven tightening. Pulling too hard in one direction skews the knot. Alternate sides and tighten evenly from all angles.
Too short a tail. The instinct to minimize waste is understandable, but unsafe. Build the habit of always starting with a long tail.
Wrong position relative to the harness. Too close and it restricts movement; too far and impact force increases in a fall. One fist-width — approximately 10 cm — is the standard.
Early stage: Use thicker rope (10 mm or greater). The path is easier to see and the shape easier to check. Inexpensive rope from a hardware store is fine.
Initially: Tie slowly while watching. Stop at each step and verify the shape before continuing. No rushing.
As you improve: Try tying with your eyes closed. Use touch alone to judge whether the knot is correct. This builds real-world usefulness — in darkness or poor weather, visual information may be limited.
Time yourself. Two to three minutes is fine at the start, but aim to tie reliably within 30 seconds. Accuracy always takes priority over speed.
Integrate into daily life. While watching TV, before bed, as a morning routine — repeat until the movement becomes automatic.
The figure-8 is versatile, but not universal. Understanding where it excels and where it falls short is essential.
Tying into a harness
The most fundamental application. In climbing and stream climbing, the figure-8 is used to connect the rope to the tie-in point of the harness. Its visual clarity and unloadable properties are fully utilized here. Partner cross-checks are also straightforward.
Building anchor points
The figure-8 can be used to create intermediate anchors on rock or in snow (as a figure-8 on a bight). The loop is clipped to an anchor with a carabiner. When multiple climbers are being belayed simultaneously, the knot’s readability improves overall safety.
Securing gear
On multi-day ridge traverses, the figure-8 can be used to attach gear to the outside of a pack. Tying a loop and clipping a carabiner allows for easy attachment and detachment. For this application, simpler knots often suffice.
Emergency anchoring
When a partner needs to be temporarily secured on exposed terrain, the figure-8 allows a quick and reliable harness connection. High visibility and reliable tying under stress are essential in emergencies.
❌ Joining two ropes
The figure-8 is not suitable for connecting two ropes. The knot is too large and risks snagging on rock edges or through carabiners. Use a double fisherman’s knot or a flemish bend instead. Forcing a figure-8 here risks the knot jamming in a rappel device.
TOM’s Note: There is such a thing as a figure-8 bend… but that’s a separate topic.
❌ Thin cord (5 mm or less)
On thin cord, the figure-8 becomes too small to inspect accurately. It can also lock up completely under load, becoming impossible to untie. Use an overhand knot or another appropriate knot for small-diameter cord.
❌ Rope end dressing
For simple end-dressing purposes, the figure-8 is overkill — too bulky and in the way. An overhand knot is the right choice here.
△ Environments where the knot may freeze
In winter stream climbing or ice climbing, where the knot could become wet and freeze, the figure-8 can become very difficult to untie. This does not mean avoid it entirely — for applications where you will not need to untie the knot mid-activity (such as tying into a harness), it is fine. The concern is situations where you must untie after freezing, such as rope retrieval after a rappel. In those cases, consider carabiner connections or knots that remain workable when frozen.
Practical approaches:
△ When load direction changes frequently
The figure-8 is strong in one direction but may loosen slightly when loaded from multiple directions. On top-rope climbs where the climber traverses laterally, multi-directional force is applied. Tie more firmly than usual, check regularly, and consider a double figure-8 in demanding situations.
When unsure whether to use the figure-8, apply these criteria:
When in doubt, choose the more reliable option. “It’ll probably be fine” is not acceptable thinking in the mountains.
When using a practiced figure-8 in the actual field, additional care is required.
Check rope condition before use. Old or damaged rope has reduced knot strength. Inspect for surface abrasion, core damage, or heavy soiling before each use.
Consider weather conditions. Wet rope is slippery and knots loosen more easily. In rain or stream climbing, tighten the knot more firmly than usual and check it frequently.
Practice tying with gloves. In winter or on rock, working bare-handed may not be an option. Even thin gloves change the feel of the rope. Practice accordingly.
Cross-check with your partner. Verify your own knot, then have your partner check it too. A second set of eyes catches what you miss.
TOM’s Tip: You’re trusting this knot with your life — check it properly.
Once the basic follow-through figure-8 is solid, other variations become accessible.
Figure-8 on a Bight
Creates a loop in the middle of the rope. Fold the rope in half and tie the figure-8 through the doubled strand. Used for building mid-rope anchor points. The difference from the follow-through: this uses the middle of the rope, not the end. Faster to tie, but cannot be used to tie directly into a harness.
Double Figure-8
Used where extra strength is required. Essentially repeats the figure-8 twice, producing a larger but stronger knot. Learn this only after the standard follow-through is fully reliable. Advancing to applications before the foundation is secure creates confusion, not competence.
The figure-8 is the entry point into mountain ropework. Mastering this deceptively simple knot is the first step toward more advanced technique.
Its visual clarity, high strength retention, and unloadable properties make the figure-8 the ideal starting point for any beginner. With repeated practice, the movement becomes second nature.
Learn the correct method, internalize the verification process, and understand the field considerations. Working through these steps builds the technical foundation for safe mountaineering.
Ropework deepens in the field. May this guide serve as a useful first step toward mastering the figure-8.
【Summary: Key Points for Mastering the Figure-8】
◆ Three defining characteristics
◆ Practice progression
◆ Verification checklist
◆ Next steps
Once the basic form is solid, progress to the double figure-8 and figure-8 on a bight.
【Practice Gear】
Practice rope: 8 mm × ~3 m
Carry rope: Accessory cord 8 mm × 30 m
Carabiner: HMS locking carabiner
Climbing harness: Black Diamond Momentum
【Reference Books】
Ropework Handbook — Yama-to-Keikoku-sha:https://amzn.to/4v4ayju
This article contains affiliate links.