【Deep Dive Essays】Bear Safety in Japanese Mountains: Why Behavior Matters More Than Gear
北村 智明
稜線ディープダイブ

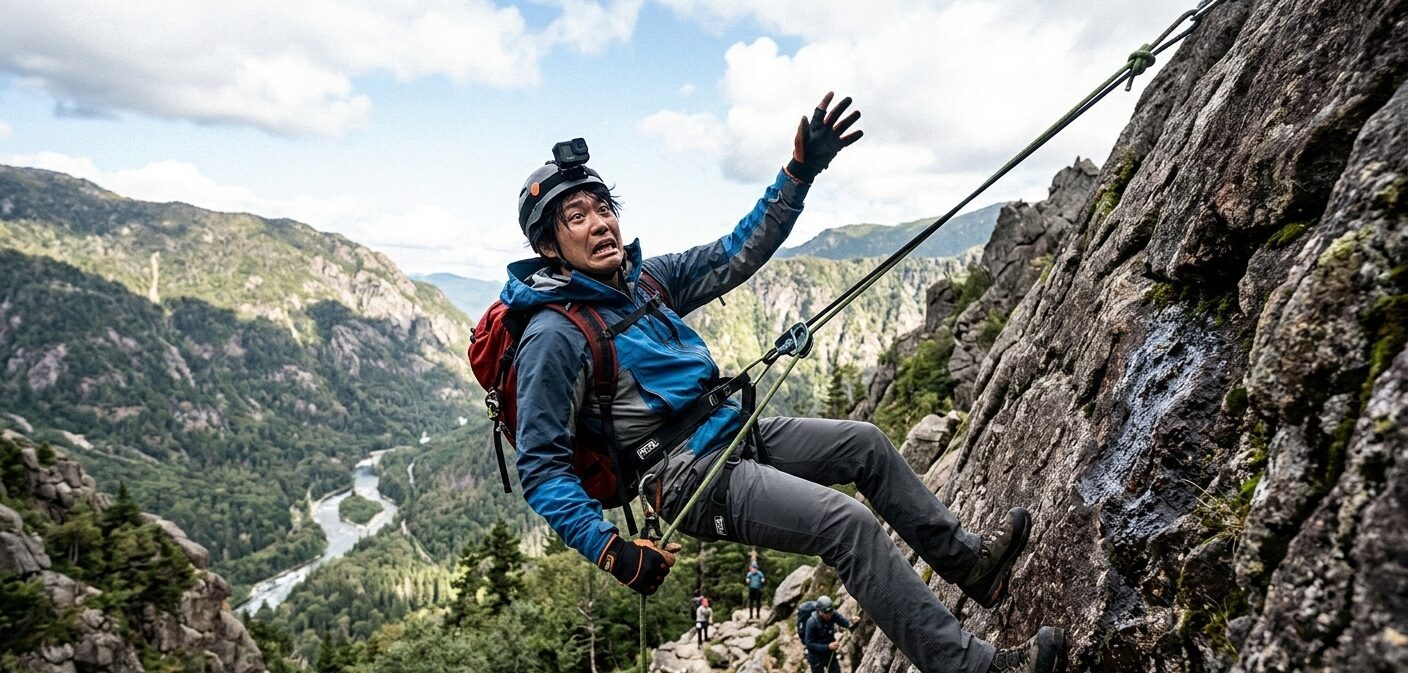
Rappelling is the number one cause of climbing fatalities. It accounts for roughly 25% of all climbing accidents, and the overwhelming majority trace back to human error. Why is a technique meant to bring climbers down safely so consistently dangerous? From the basic sequence and device comparisons to anchor judgment and risk management, this piece draws on field experience to examine what real rappelling safety requires. Intended for intermediate climbers.

Rappelling in open air off Ichinokura Eboshi-iwa
Rappelling is the single largest cause of death in climbing. Roughly 25% of climbing accidents occur during rappelling, and the fatality rate is extremely high.
The core risk is simple: failure almost always means a fatal fall. Because rappelling happens away from the anchor and often at height, any failure translates instantly into a fall with no margin for recovery.
Most accidents stem from human error. The main causes, along with real incidents, are as follows.
Anchor-related
Rope-related
Device-related
Other
What these causes have in common is that they’re all “small mistakes.” Even experienced climbers make them under fatigue, time pressure, bad weather, or simple haste.
People make mistakes. Risk management starts from that premise — building a system where one mistake doesn’t immediately mean a fatal fall.

1. Self-belay
Clip a self-belay to the anchor using a sling and carabiner. This is only removed once every step of setup is complete.
2. Thread the rope through the anchor
For a single rope, thread the midpoint through the anchor. For two ropes, join both ends with a double overhand knot (a standard overhand plus a stopper knot). A double fisherman’s bend also works, but watch closely for tying errors.
3. Flake and divide the rope
For a single rope, tie both ends together with a double overhand knot. Split the rope into two halves — the end side and the anchor side — and drape the end-side half around your neck. For two ropes, confirm which color you’ll pull to retrieve the rope.
4. Set the backup
Set a friction hitch (such as a Prusik or Klemheist) below the belay device. Use roughly a 7mm × 150cm cord, wrapped 3-4 times.
5. Set the belay device
Set the belay device at the midpoint of your lanyard. A device rated for direct belay is recommended.
6. Start the descent
Release the self-belay. One hand feeds the rope below the friction hitch, while the other hand releases the backup as you descend.
7. At the next anchor
On reaching the next anchor, clip in a self-belay immediately. Then pull the rope down and prepare for the next rappel.
Running through a checklist out loud is the key to a reliable rappel sequence.
Before each rappel, confirm out loud:

Self-belay, check! Ends tied, check! Rope down!
Backup, check! Device, check! Gate, check! Going down!
Saying it out loud forces you to observe your own actions objectively — and it lets your partner check you too.
The ATC (Air Traffic Controller) style device is the most common rappelling device.
Advantages
Disadvantages
Best suited for
Guide-mode ATCs (such as the Mega Jul or Reverso) and the GriGri are devices with an auto-locking function.
That said, for rappelling they’re normally used in standard mode, clipped to the harness belay loop. Direct belay mode (clipped straight to the anchor) isn’t generally recommended, since the device can’t be retrieved afterward.
In standard mode, the auto-lock function doesn’t engage — so a backup is just as necessary as with a plain ATC.
Advantages
Disadvantages
Best suited for
The figure-8 device is a classic rappelling tool.
Advantages
Disadvantages
Best suited for
The Munter hitch is a rappel method using only a carabiner. Plenty of beginners drop their device at some point — everyone should be able to rappel this way as a fallback.
Advantages
Disadvantages
Best suited for
For multi-pitch climbing, I favor a Guide ATC — the auto-lock function adds real safety margin when belaying.
When teaching beginners, I start them on an ATC-style device with a backup. Once they understand the fundamentals, they can move on to more advanced devices.

Anchor selection for rappelling matters even more than for a belay station, because during a rappel you’re away from the anchor — if it fails, the fall is immediate and fatal.
Good anchors
Anchors to avoid
The 2019 rappelling accident on Mt. Maehotaka is attributed to using haimatsu (dwarf pine) as the anchor. The strength of the haimatsu was overestimated, and using it alone, the anchor broke and the climber fell to their death.
The countermeasure: as a rule, only use a living tree at least as thick as your arm, and test it before relying on it — always in combination with another anchor.
If haimatsu must be used, bundle 2-3 stems together, and combine it with a bolt or rock horn wherever possible.
The most common human error in anchor building is failing to check the anchor’s condition.
Is the bolt corroded? Is the piton loose? Is the tree alive? Skipping these checks before starting a rappel raises the risk of anchor failure significantly.
When I check an anchor, I go through the following:
Anchor building deserves unhurried attention. A rushed anchor carries a much higher risk of error.
Even in bad weather or with nightfall approaching, take care with the anchor above all else. Five extra minutes can save a life.
Letting go of the rope mid-rappel happens more often than you’d think.
Without a backup, any of these situations means an immediate fall. With a backup, a single mistake doesn’t have to be fatal.
The most common backup is a friction hitch — a Prusik, Klemheist, or Autoblock (Machard) hitch.
Use a roughly 7mm × 150cm cord, wrapped 3-4 times below the belay device. Under load, it bites into the rope and locks.
Placement: Set it below the belay device. Placed above, it can leave you unable to move once loaded.
Number of wraps: Three wraps is standard, though this varies with rope diameter and cord diameter. Always test it under tension before descending to confirm it locks reliably.
Keep the backup active throughout the rappel. Only release it once you’ve reached the next anchor and clipped in a self-belay.
Never release the backup mid-rappel. If you need to briefly let go — to untangle a snagged rope, for instance — shift your weight onto the backup first.
Even with an auto-locking device like a GriGri, a backup is essential for rappelling.
These devices auto-lock when belaying, but during a rappel they’re used in standard mode (clipped to the harness), so the auto-lock function doesn’t engage (solo-climbing systems are an exception). Direct belay mode (clipped straight to the anchor) generally isn’t used, since it can’t be retrieved.
In standard mode, braking friction is high, but letting go still means falling. Without a backup, it carries the same risk as a plain ATC.
Whatever device I use, I require a backup whenever rappelling first as the lead. Regardless of device, building a system that survives a single mistake is what matters.
Rappelling on a rock face is relatively straightforward. Anchors are usually fixed bolts or pitons, and retrieving the rope is easy.
Points to watch
Rappelling in a stream carries its own set of challenges, distinct from rock climbing.
Uncertain anchor quality
Streams have few fixed anchors, so trees or rock horns are used more often. When using shrubs, bundle several together where possible.
Everything is wet
A wet rope reduces a device’s braking friction. ATC-style devices tend to slip, so a Guide ATC or figure-8 device is preferable.
Risk of rising water
Streams are prone to sudden weather changes and rising water levels, which demands a quick rappel.
Difficult rope retrieval
In gorge sections, the rope easily snags on rock horns or waterfalls. Throw the rope down carefully.
When rappelling in a stream, I keep the following in mind:
Use multiple anchors wherever possible
Two or more anchor points — two trees, for instance.
Protect the rope
Check carefully that the rope won’t rub against a sharp rock edge.
Flake the rope for easy retrieval
Throw the rope down in a way that avoids the waterfall’s current.
Sometimes you can’t confirm from the anchor whether the rope reaches the ground. Partway down, you may reach the rope’s end only to find it doesn’t touch the ground.
Without the ability to ascend the rope (nobori-kaeshi), you’re left hanging with no way to move. Extended suspension raises the risk of harness hang syndrome — a form of shock caused by blood pooling in the legs, which can be fatal.
Ascending is done using a friction hitch.
1. Temporarily lock off the descender
Lock off the descender — for example, by wrapping the rope repeatedly around your leg, or using a mule hitch.
2. Attach a friction hitch above the descender
Attach a Prusik or Klemheist above the descender.
3. Transfer your weight to the friction hitch
Step down on the rope on the friction-hitch side to shift your weight onto it.
4. Slide the descender upward
Slide the descender up and transfer weight back onto it. Repeat this cycle.
If you’re going to rappel, you need to know how to ascend the rope. A party that can’t ascend has no business rappelling.
When I teach courses as a guide, I always cover ascending technique. Students practice it in a safe location until they’ve genuinely mastered it.
Rappelling causes more climbing deaths than any other single technique, and nearly all of those deaths trace back to human error.
Poor anchor selection, unfinished knots, device setup mistakes, missing backups — these are mistakes that even experienced climbers make.
There are two ways to guard against them.
First, execute the sequence with certainty. Run through the checklist out loud. Have your partner confirm it too.
Second, build a system that survives a single mistake. Set a backup. Use multiple anchors. Give yourself time.
Rappelling is as much a test of judgment as it is a technical skill. I want to train climbers who can adapt to the situation in front of them, not just recite a memorized sequence.
As a guide, what I tell my clients is this: rappelling should scare you. That fear is what keeps you careful — and care is what keeps you alive.
◆ The Danger of Rappelling
◆ The Basic Sequence
◆ Comparing Devices
◆ Anchor Building and Human Error
◆ Backup Systems
◆ Judgment by Terrain
◆ Ascending the Rope
◆ Risk Management