【Deep Dive Essays】Essential Gear for Hiking in Japan: Equipment Recommendations and Where to Buy/Rent
北村 智明
稜線ディープダイブ

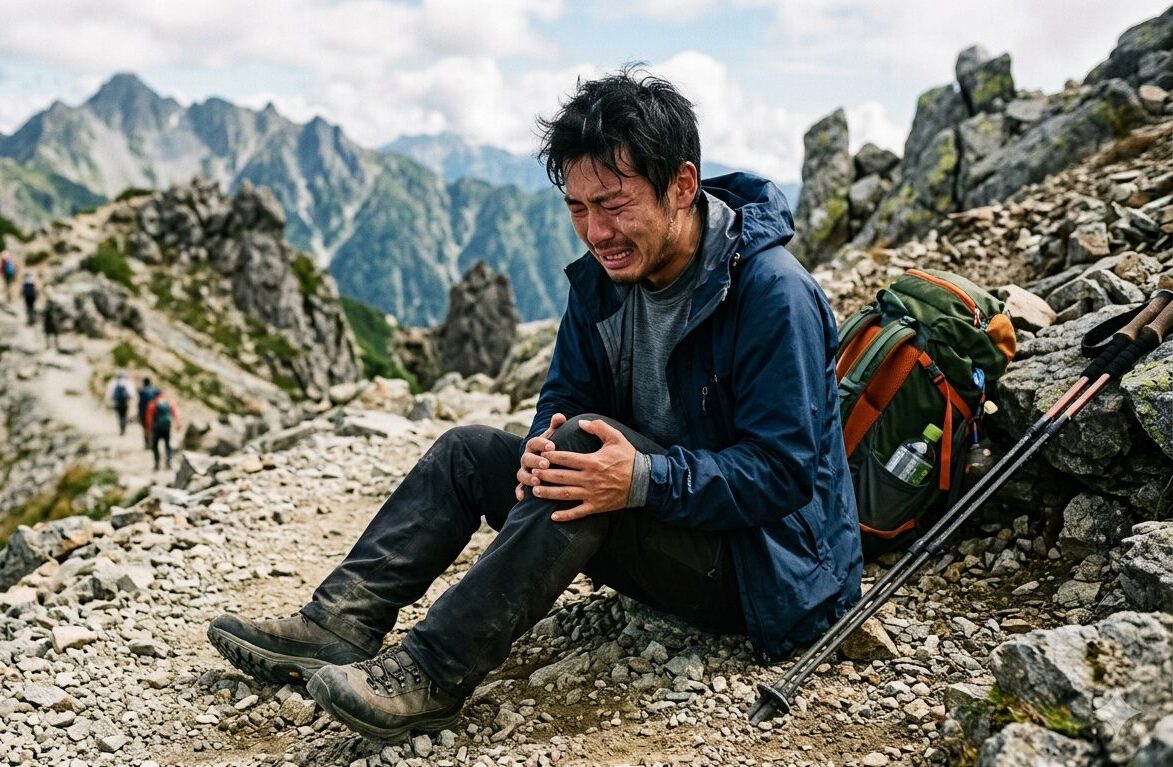
Sore knees on the way down a mountain are not simply a sign that you are out of shape. Your knee joints absorb impacts of four to eight times your body weight, over and over, and both your walking technique and your gear influence how much of that load they take. This article explains the mechanism, then looks at the technical adjustments and equipment choices that beginners can start using today.
Article Info
- Difficulty: Beginner
- Intended readers: Hikers with less than a year of experience who suffer from knee pain, or who want to prevent it
- Article type: Integrated analysis (technique × equipment)
- Keywords: hiking knee pain, knee pain downhill, trekking poles and knees
Most people who take up hiking experience knee pain on a descent at some point. You climb strongly all the way to the summit, and then, on the walk back down, a sharp pain suddenly shoots through the inside or outside of your knee. It is easy to dismiss this as “just a lack of fitness,” but fitness is not the only cause.
I have run a full marathon in under three hours, yet I have injured my knees many times. That experience taught me how baseless the assumption is that “if you are fit, your knees will be fine.” Running ability and knee resilience do not necessarily go hand in hand.
Both how you walk (technique) and what you carry and wear (equipment) shape the load on your knees. In this article, we first look at why knee pain occurs, then examine practical techniques and gear choices that beginners can put to work.
Most hiking-related knee pain strikes on the way down. The reason lies in how much load the knee joint carries.
On level ground, the load on the knee is estimated at roughly one to two times your body weight. Going uphill it rises to around three to four times. Descending is more severe still: the knee is thought to absorb impacts of four to eight times your body weight, repeatedly, and this load accumulates over several hours.
| Walking situation | Estimated load on the knee (multiple of body weight) |
|---|---|
| Level walking | About 1–2× |
| Uphill | About 3–4× |
| Downhill | About 4–8× |
Two conditions are typical of knee pain on descents. The first is iliotibial band syndrome (Chōkei-jintai-en), known in Japan as “runner’s knee.” It causes pain on the outside of the knee. Repeated downhill movement makes the iliotibial band, a strap-like ligament running down the outer thigh, rub against the bony prominence on the outside of the femur, and this friction triggers the condition. The second is pes anserine syndrome (Gasoku-en), which is a likely culprit if the pain is on the inside of the knee. It is an inflammation of the area where the tendons of three muscles involved in bending and straightening the knee converge.

ℹ️ Glossary
- Iliotibial band syndrome (runner’s knee): Inflammation caused when the iliotibial band, a strap-like ligament running along the outer thigh, repeatedly rubs against the bone on the outside of the knee. It is characterized by sharp pain on the outer knee when going down slopes or stairs.
- Pes anserine syndrome: Inflammation of the pes anserine (“goose’s foot”), the point just below and inside the knee where the tendons of three muscles attach. It appears as pain or stiffness on the inner knee and tends to worsen after long walks.
⚠️ Caution: If the pain is severe, or accompanied by swelling or heat, do not keep walking. See an orthopedic doctor as soon as possible. The measures introduced in this article are intended only for prevention and for coping with mild discomfort.
The core of knee-friendly walking is to spread the impact out. A common habit among beginners, often unconscious, is to land hard on the heel with the knee fully extended. This sends the shock straight into the knee joint.
The recommended posture is as follows:
On trails with rocks and big steps, where you put your foot matters too. Land on flat, stable ground whenever possible, and avoid putting your full weight on a tilted rock or an unstable surface. This reduces the risk of your knee twisting sideways.
Knee pain tends to get worse in the later part of a descent, once fatigue has built up. When the leg muscles tire, their ability to absorb shock declines, and the knee joint takes on the difference. The urge to “get down quickly because I’m tired” is understandable, but the more tired you are, the more carefully you should place each step.
ℹ️ A Step Further: Change the Angle of Your Feet from Time to Time
On a long descent, the same muscles and joints take the same directional load again and again, and fatigue builds up. By deliberately changing the angle of your feet, you can distribute the load across different areas. For example, you can point your toes slightly outward (a bit like a duck walk). On steep slopes, another option is to turn your body sideways and descend diagonally, or to zigzag down. What these methods share is the idea of not using your body the same way for too long.
When it comes to knee pain, trekking poles deserve special mention. Used correctly, they are thought to reduce the load on your knees during a descent by roughly 20–30%. The principle is simple: planting the poles on the ground lets your arms and core help absorb the impact, so less of it is concentrated on the knees.
What to look for when choosing:

Basic technique:
On a descent, move the pole opposite to your stepping foot forward at the same time (if you step with your right foot, move the left pole). Plant the poles slightly ahead of you and lean some of your weight on them as you descend, so that the impact is shared with your arms.
Impact on the knee begins at the foot. Footwear that balances cushioning with stability forms the foundation of knee protection.
What beginners should check:
💬 TOM’s tip: Visit a proper shoe store such as ASICS and have them measure whether you overpronate or supinate.
Knee supporters and taping are worth considering as supplementary options. However, they are not a fundamental solution. Masking the pain with a supporter and then pushing on can even make symptoms worse.
Bandage-style wrap supporters are available at retail from about ¥1,500–3,000 (roughly US$10–20). Types that support both sides of the knee are considered effective at limiting the sideways wobble that occurs on descents.
Technique and equipment have limited effect when used alone. Even if you focus on how you walk, your footing stays unstable without suitable boots. Conversely, even with excellent gear, your knees take the same load if you keep walking with fully extended legs.
Combinations by situation:
| Situation | Technical measures | Equipment measures |
|---|---|---|
| Gentle downhill trail | Keep knees slightly bent; take short steps | Hiking footwear alone may be enough |
| Steep descent or rocky section | Turn your body sideways; check each step | Use trekking poles actively |
| Long descent (3+ hours) | Take a break every 30–40 minutes | Start using poles as soon as you feel fatigue |
| Previous knee pain | Descend slowly; rest more often | Combine a supporter with poles |
Case study:
M, a woman in her 40s with six months of hiking experience, developed pain on the outside of her right knee in the latter half of every descent on her day hikes. Watching her walk, it became clear that taking long steps and landing with a fully extended knee had become a habit, and she did not carry trekking poles.
Two changes were made: (1) consciously shifting to short steps with a bent-knee landing, and (2) adopting trekking poles (aluminum, telescoping). From her next hike on, the pain eased, and from about the third hike she was able to descend with almost no trouble.
As this example shows, correcting technique and adding equipment together tends to produce the best results.
✅ Key points:
- Knee pain on descents tends to occur because impacts of four to eight times your body weight are repeated again and again
- The three basics of walking are a bent-knee landing, short steps, and a forward lean
- Trekking poles are the most effective piece of gear, thought to reduce the load on the knees by roughly 20–30%
- Check the stiffness and fit of your boots; mid-cut models are easier for beginners to handle
- Technique and gear are two wheels of the same cart; either one alone has limited effect
Knee pain is a challenge that many hikers face at least once. But by understanding the cause and addressing both your technique and your equipment, you can prevent it to a considerable degree.
Don’t rely on gear alone, and don’t try to tough out the pain either. Combining how you move your body with the right tools is the mindset that should underpin a long relationship with the mountains.
Alongside improving your technique and gear, strengthening the muscles around your knees through everyday training is another effective long-term approach to preventing knee pain.
Squats and single-leg squats
The most important muscles for protecting your knees are the quadriceps (front of the thigh) and the hamstrings (back of the thigh). When the two are well balanced, shock absorption on descents tends to improve markedly. For squats, bend to around 90 degrees without letting your knees travel past your toes. A good starting point is 10–15 repetitions a day, about three days a week. Once you are comfortable, move on to the Bulgarian split squat (a single-leg squat with your rear foot raised on a bench), which trains the single-leg loading that hiking demands.
Use stairs on the way down
Getting your knees used to downhill movement in daily life is another option. Taking the stairs down instead of the elevator is structurally close to descending a mountain trail, and it can be expected to help muscles, tendons, and joints adapt gradually. The ground rule is that you should stop if it causes pain.
Combining with running
Running trains your cardiovascular fitness and leg strength at the same time, so it is worth considering as supplementary training for hiking. On the other hand, running with poor form can itself trigger iliotibial band syndrome. If you have had knee pain while hiking, start with walking on level ground, confirm that it does not hurt, and then move to jogging gradually. Light running for about 30 minutes, two to three times a week, is a reasonable baseline for building the legs for hiking.
ℹ️ Note: If you have an existing knee condition, or feel pain during training, consult an orthopedic or sports medicine specialist before continuing.
This article contains affiliate links. If you purchase a product introduced here, this site may receive a commission. The products and services featured are selected at the editorial team’s discretion and are not influenced by sponsors.