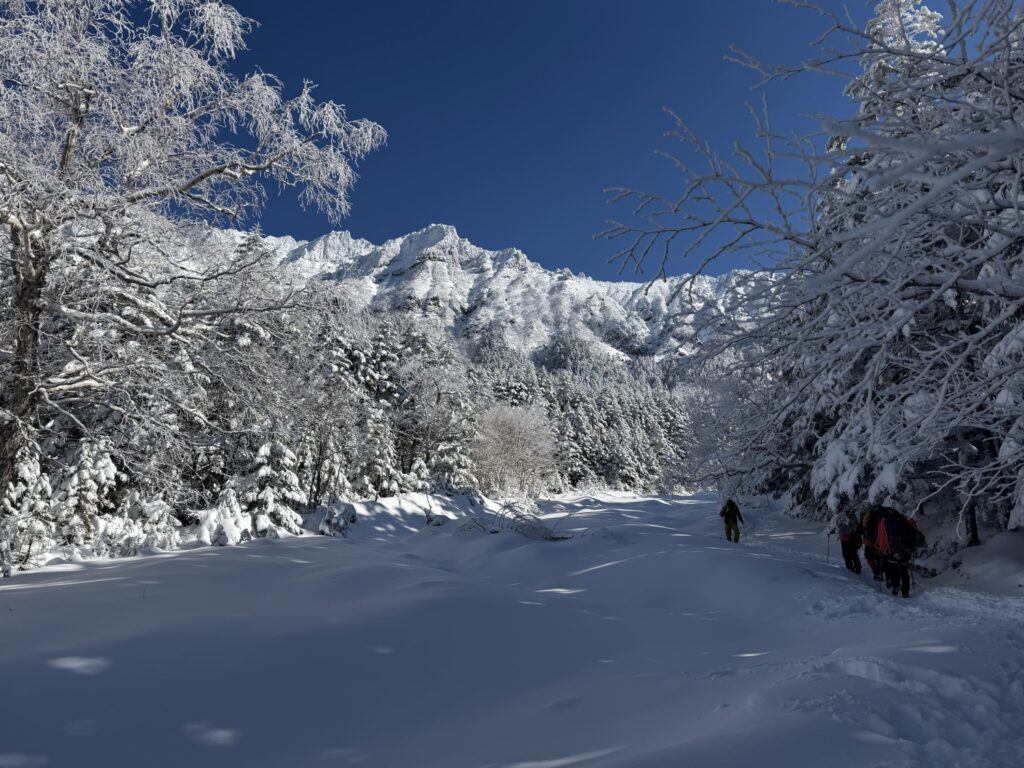
Winter mountaineering refers to ascending snow-covered peaks, generally from December through April — though the exact window varies by elevation and region. In Japan, this discipline carries a distinct name: yukiyama tozan (雪山登山), and it is treated as a fundamentally different activity from summer hiking.
The defining difference is the severity of the environment:
Temperature: At 2,000m elevation, temperatures regularly drop below -10°C (14°F)
Wind: Ridge lines frequently see gusts exceeding 20 m/s (45 mph)
Daylight: Around the winter solstice, darkness falls as early as 4:00 PM in the mountains
Snow cover: Trails disappear under snow, significantly raising the risk of route-finding errors
Wind Chill: Why It Matters More Than the Thermometer
Air temperature alone doesn’t tell the full story. The table below shows how wind dramatically amplifies cold exposure — and why a proper outer shell is non-negotiable:
Air Temp (°C / °F)
Feels Like at 5 m/s (11 mph)
Feels Like at 15 m/s (34 mph)
-5°C / 23°F
-12°C / 10°F
-19°C / -2°F
-10°C / 14°F
-18°C / 0°F
-26°C / -15°F
-15°C / 5°F
-25°C / -13°F
-33°C / -27°F
Under these conditions, inadequate gear or untrained technique translates directly into life-threatening risk. Hypothermia, frostbite, falls on ice, and avalanche — none of these hazards exist in summer hiking. All of them are part of winter mountaineering’s baseline reality.
Why Bother? The Rewards of Winter Mountains
Despite the hazards — or perhaps because of them — winter mountains offer something summer peaks simply cannot.
Frost-covered forests glittering in morning light. Wind-sculpted snow ridges (fumon) stretching into silence. Summit panoramas unobstructed by summer haze. And a stillness that’s impossible during the crowded hiking season.
Some routes only open in winter. Some rocky scrambles become easier under consolidated snowpack. And the sense of accomplishment earned by moving safely through a severe winter environment is unlike anything summer hiking can provide.
2. Essential Gear: Three Core Areas
Winter mountain gear is extensive, but for beginners, three domains take priority.
[A] Insulation and Layering System
The Layering Principle
Effective winter layering balances moisture management during exertion with heat retention during rest stops. In Japan’s winter mountains, you will alternate between sweating on a climb and standing exposed on a windswept ridge — sometimes within minutes of each other.
The standard four-layer system:
Base Layer (next to skin): Moisture-wicking synthetic or merino wool
Mid Layer (active insulation): Fleece or lightweight insulated jacket
Outer Shell (hardshell): Windproof and waterproof barrier
Insulation Layer (static warmth): Down or synthetic puffy jacket, used at rest
Layer Functions at a Glance
Layer
Primary Function
Recommended Material
Base
Moisture transport (wicking & drying)
Merino wool, polyester
Mid
Warmth & humidity regulation
Fleece, down, synthetic fill
Outer Shell
Windproofing, waterproofing, breathability
Hardshell (Gore-Tex or equivalent)
Key principles:
During active movement, dress lighter than feels comfortable. Sweating leads to wet insulation, which leads to hypothermia.
At any rest stop over five minutes, put on your insulation layer immediately.
On exposed ridges or in strong wind, wear your shell even while moving.
Gear Selection: Budget Reference
Note: Prices are approximate Japanese retail (¥). International equivalents vary.
Base layer top/bottom: ¥5,000–8,000 each
Fleece mid layer: ¥8,000–15,000
Hardshell jacket and pants: ¥25,000–40,000
Down or synthetic insulation jacket: ¥20,000–35,000
Total estimated budget: ¥70,000–100,000 (~$450–$650 USD)
Brand reference:
Mont-bell (Japan): Excellent value. Zeo-Line base layers, Climaplus fleece, Storm Cruiser shell — well-regarded in Japanese alpine circles
The North Face / Mammut: Higher performance and price
Arc’teryx: Strong international options with equivalent performance
Selection notes:
Choose a winter-weight shell, not a three-season rain jacket. The difference in construction is significant.
Down insulation loses loft when wet. Synthetic insulation is a safer choice in wet or high-humidity conditions.
Gloves: always carry a thin liner glove and a thick outer mitten or glove — never rely on a single layer.
[B] Snow Travel Equipment
Crampons
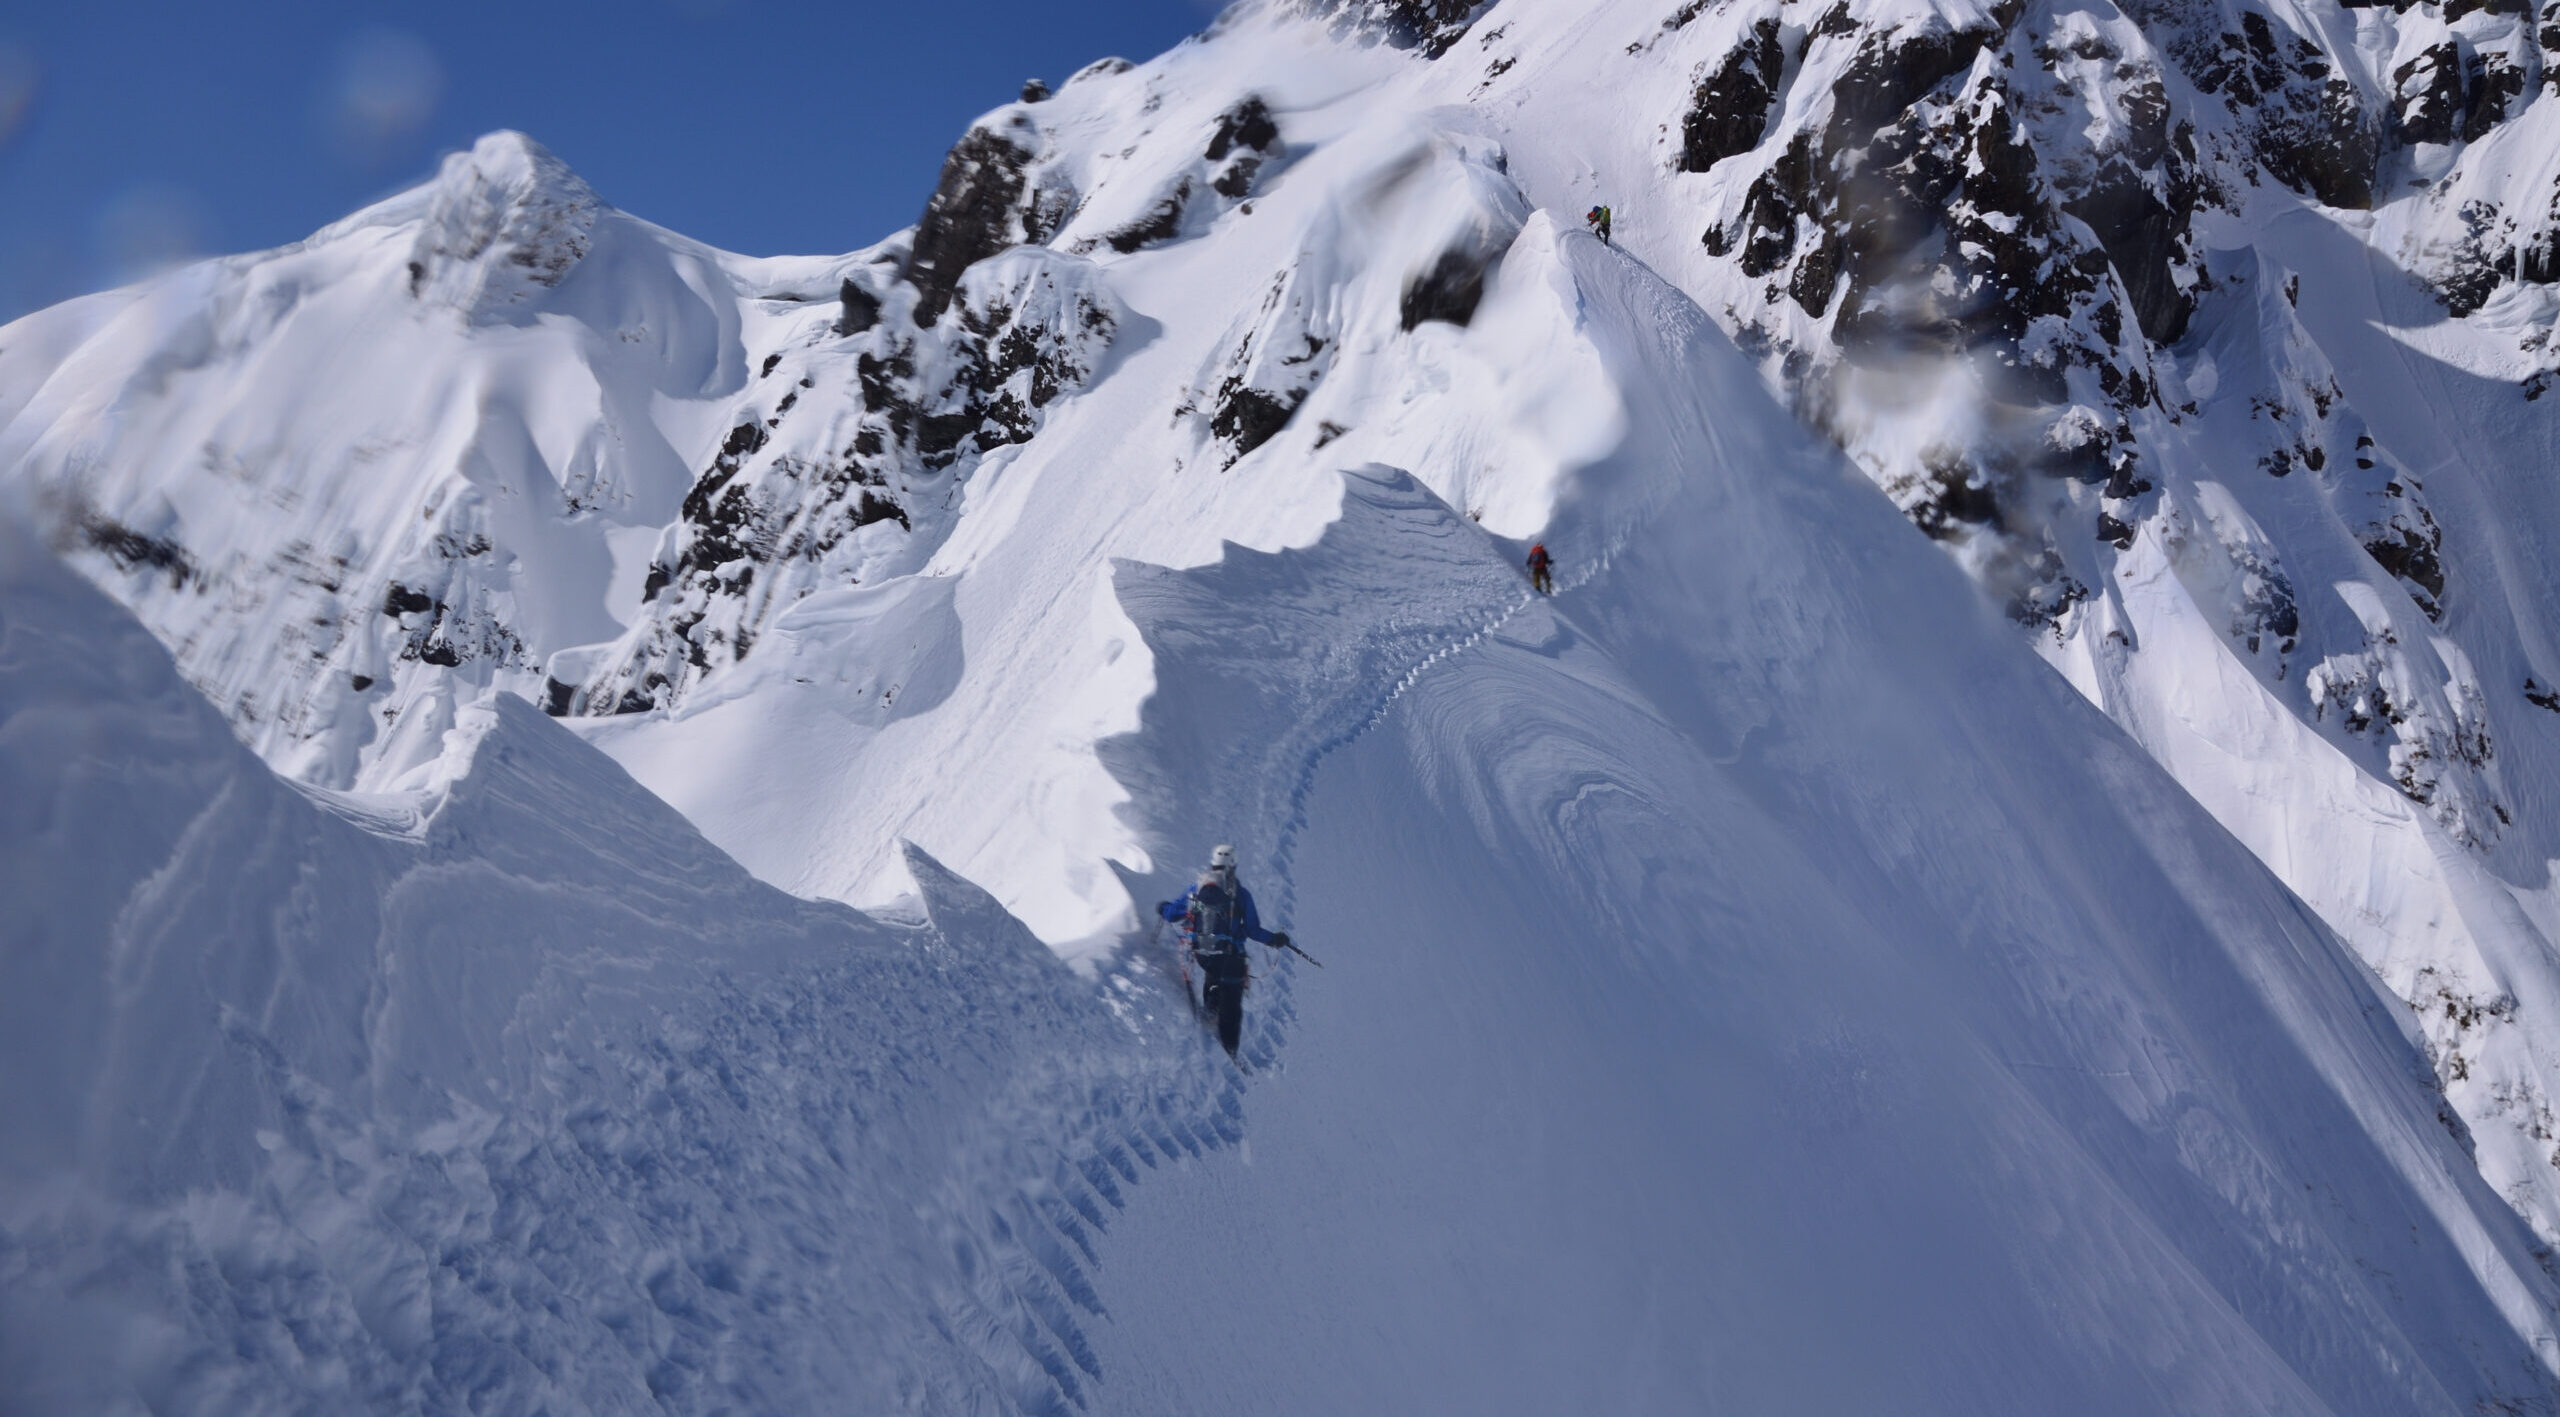
Crampons are the most critical piece of technical gear for winter mountaineering. On iced-over trails and consolidated snowpack, they are what keeps you on the mountain.
Point count:
4- or 6-point (micro-spikes / light crampons): Suitable for low-elevation forests and well-defined trails with moderate ice
10-point (general mountaineering): All-around choice and the recommended starting point for beginners
12-point with front points: For steep technical terrain and ice climbing — not needed at the beginner stage
Binding types:
Step-in (bail binding): Fastest to attach; requires a stiff-soled mountaineering boot with a welt
Semi-automatic (hybrid): Front bail only; more versatile boot compatibility
Strap binding: Fits any boot; slower to put on and take off
Beginner recommendation: 10-point, semi-automatic binding — the best balance of performance and versatility.
Price range: ¥12,000–20,000
Brands: Grivel, Petzl, Black Diamond (all available internationally)
Critical note: Always try crampons on with the specific boots you’ll be wearing. Compatibility between boot and crampon matters more than brand or size chart.
Ice Axe (Pikel / Ice Axe)
The ice axe is the defining tool of winter mountaineering. It serves as a walking staff on gentle terrain, a balance aid on traverses, and — most importantly — a self-arrest device if you fall.
Length selection:
A general rule: when holding the axe naturally at your side, the spike (bottom tip) should clear the ground by about 5cm (2 inches).
Height
Recommended Length
160 cm (5’3″)
~60 cm
170 cm (5’7″)
~65 cm
180 cm (5’11”)
~70 cm
Shape:
Classic (straight shaft): Better for general mountaineering and walking. The right choice for beginners.
Technical (curved shaft): Designed for steep ice and mixed climbing. Not necessary at the beginner stage.
Beginner recommendation: Classic straight shaft, 60–70 cm
Price range: ¥8,000–15,000
Brands: Grivel, Petzl, Black Diamond
Usage basics:
Always carry the ice axe in the uphill hand when on a slope.
The pick faces rearward during normal use (forward-facing pick is a hazard when moving).
Secure with a leash — either around the wrist or via a sling across the body — to prevent dropping it on a slope.
Guide’s note: A trekking pole alone is not sufficient for winter mountaineering. An ice axe is non-negotiable on any terrain with fall potential.
[C] Safety Equipment
Headlamp
Winter daylight is short. By mid-December in Japan’s Northern Alps (the North Japan Alps), it’s dark by 4:00 PM. Plan accordingly.
Minimum 200 lumens output
Carry spare batteries; lithium batteries perform significantly better in cold temperatures than alkaline
Navigation: Map, Compass, and GPS
Snow covers summer trails completely. Navigation becomes a genuine skill requirement, not a backup plan.
Required items:
Topographic map (1:25,000 scale)
Compass
GPS app (YAMAP and Yamareco are the dominant apps in Japan; Gaia GPS is an international alternative)
Backup battery pack
Notes:
GPS drains battery fast; cold shortens it further. Keep devices warm inside a jacket pocket.
Configure your smartphone for gloved operation before you leave home.
Store paper maps in a waterproof case or dry bag.
Guide’s note: Technical skill is what keeps you out of danger. The more tools you can use effectively, the more options you have when conditions deteriorate.
Emergency Bivouac Kit (Bivouac / Emergency Camp)
A bivouac (ビバーク, bivāku) — an unplanned overnight — is a real possibility in winter mountains. Carry the means to survive one.
Essential items:
Tarp shelter / Zelt (emergency bivy sack): 1–2 person, 200–300g
Emergency space blanket (aluminized mylar)
First aid kit
Extra food (energy snacks + emergency rations)
Spare gloves and wool socks
Guide’s note: A snow cave (yukidō) can also be used for emergency shelter. Knowing how to block its entrance to retain heat is a useful skill.
3. Core Techniques
Gear without technique is incomplete — and in winter mountains, incomplete preparation creates danger. The following skills should be practiced before your first winter objective.
Crampon Technique (Aizenuwāku)
Flat-footing (German: Pied plat):
Plant all crampon points simultaneously on the snow surface.
Keep the ankle flexible, orienting the sole of your boot parallel to the slope.
Effective on slopes up to approximately 30 degrees.
Kick-stepping:
On steeper terrain, kick the toe box firmly into the snow to create a step.
If your crampons have front points, engage them.
Weight the step gradually — don’t lunge.
Practice progression:
Start on low-angle snow (under 15 degrees): practice ascending, descending, and traversing.
Increase angle incrementally: 20° → 25° → 30°.
Focus on smooth foot placement — snagging crampon points on gaiters or pants is a common (and dangerous) beginner mistake.
Ice Axe Technique (Pikeluwāku)
Basic carrying position:
Hold the axe in the uphill hand, pick facing rearward.
Drive the spike into the snow as a third point of contact on steep ground.
Self-Arrest — the most important winter mountaineering technique:
Self-arrest is the method of stopping a fall using your ice axe. On any slope where a slip could become a serious fall, this skill is your primary safety net.
Procedure:
Grip the axe firmly with both hands: one hand on the head, one on the lower shaft.
Position the pick in front of your chest.
Rotate your body to face the slope (prone position).
Drive the pick into the snow surface.
Apply body weight to create friction and arrest the slide.
Practice method:
Use a safe, clean snow slope with a clear runout (no rocks or trees below).
Begin from a seated position, sliding slowly.
Progress to faster slides, then practice from different starting positions (on your back, on your side).
Wear a helmet.
Important: Practice with others present, not solo. For first-timers, a guided workshop is strongly recommended — self-arrest is a kinetic skill that requires feedback to learn correctly.
Guide’s note: Trekking poles are no substitute for an ice axe. In terrain with real fall potential, they offer no stopping power.
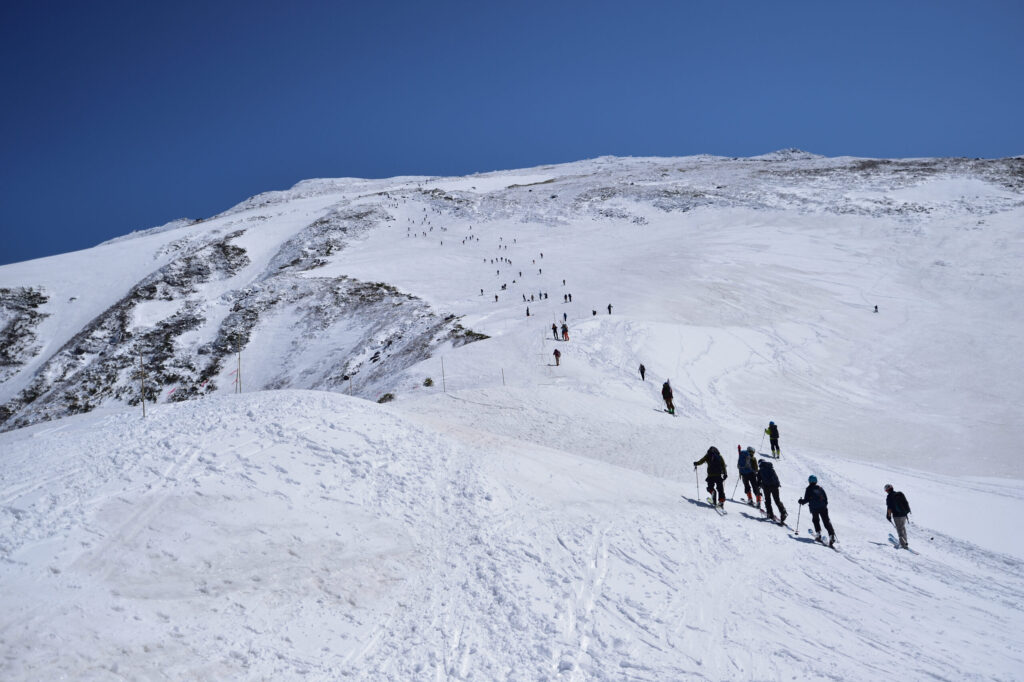
Breaking Trail (Rasseru / Post-Holing)
In deep unconsolidated snow, you’ll need to break trail — pushing through or compressing the snow with each step. This is called rasseru (ラッセル), from the German Rüssel (plowing through).
Basic movement:
High-step: lift your knee well above the snow surface.
Punch the foot down and compress the snow before committing weight.
If in a group, rotate the lead position regularly — breaking trail is exhausting.
Key points:
Rasseru burns energy at a rate most beginners underestimate. Build extra time into your schedule.
In deep snow, snowshoes can dramatically reduce effort and are worth considering.
Avalanche terrain: Gully funnels, open bowls above treeline, lee slopes
Extended above-treeline travel: Wind and cold exposure compounds fatigue rapidly
Remote approaches: Limited retreat options if conditions deteriorate
A Special Warning: Winter Mt. Fuji
Mt. Fuji (3,776m / 12,388 ft) deserves its own category. It is the most dangerous mountain in Japan for inexperienced winter climbers — and one of the most misunderstood.
In summer, Fuji is a straightforward high-altitude hike. In winter, it becomes a genuinely extreme environment. The combination of extreme wind exposure, near-vertical ice slopes in the upper sections, and altitude-compounded cold creates conditions that have killed experienced mountaineers.
Why winter Fuji is categorically different:
Wind speeds above 30 m/s (67 mph) are common on the upper mountain. At those speeds, standing upright becomes difficult; a fall is nearly impossible to arrest.
The volcanic scoria that makes summer climbing relatively safe becomes bulletproof ice in winter — slopes of 35–40 degrees with no reliable self-arrest surface.
Above 3,000m in winter, the margin for error in navigation, equipment failure, or physical deterioration is extremely narrow.
Rescue operations are severely limited by the same conditions that make it dangerous.
The guide’s position, stated plainly:
Winter Fuji should not be on a beginner’s radar — or even an intermediate mountaineer’s. The only context in which it makes sense as a training objective is preparation for Himalayan expeditions such as Everest, where the ability to move in extreme wind and altitude is a prerequisite. For everyone else, winter Fuji is not a test of skill worth taking.
There is no shortage of serious, rewarding winter objectives in Japan that build genuine skills in safer environments. Earn those first. Fuji in winter will still be there.
Solo or With Others?
For your first winter mountains: always go with an experienced partner or guide.
An experienced partner provides:
Real-time judgment calls on conditions, pace, and route
Emergency response capacity if something goes wrong
A model for decision-making you can learn from directly
Solo winter mountaineering should not be considered until you have at least five independent winter ascents behind you, across varied conditions.
Study hypothermia and frostbite recognition and treatment
STEP 3: Choose Your First Mountain
Under 500m elevation gain
Clear route, good weather window
Go with experienced partners
STEP 4: Build Experience Progressively
Increase difficulty gradually
Seek out varied snow conditions and weather
Repeat technical practice, don’t rely on gear alone
Five Principles to Keep You Safe
No compromises on gear: Substandard equipment in winter mountains is a genuine risk multiplier.
Technique matters more than gear: Practice crampon and ice axe skills until they are instinctive.
Retreat is not failure: Turn back on bad weather or deteriorating conditions — always.
Avoid solo travel: Your first winter mountains should always involve experienced partners.
Stay humble: Winter mountains produce unexpected situations. Experience teaches you to expect them.
Guide’s note: Avalanche-related accidents are disproportionately common among recreational mountaineers. If you’re venturing into avalanche terrain, avalanche safety equipment — beacon, probe, shovel — and the training to use it are not optional.
Gear Referenced in This Article
Crampons:
Grivel G10 (10-point, semi-automatic) — a long-standing standard
Petzl Vasak (10-point, semi-automatic) — versatile and well-built
Ice Axes:
Grivel Air Tech Evolution (classic, general mountaineering)
Petzl Summit (classic, lightweight option)
Hardshell:
Finetrack Everbreathe Primo Jacket (Japan-based, excellent cold-weather breathability)
Insulation:
Mont-bell Alpine Down Parka (reliable, well-priced)
Winter mountains in Japan carry a severity that summer hiking does not prepare you for. But that severity is also the source of their pull: the frost-covered silence, the technical demands, the hard-won views. With sound gear, practiced skills, and a properly humble approach to risk, winter mountaineering will give you experiences that no other form of outdoor travel can match.
This article is a starting point. The mountains themselves — and the people you go with — will teach you the rest.
A Note on Guided Instruction
Reading about crampon technique and actually using crampons on a steep slope are two different things. If you find yourself thinking:
“I have the gear, but I’m not confident in my crampon work.” “I want to practice self-arrest in a safe environment with feedback.” “I’d rather learn route-finding decisions from someone who’s been doing this for years.”
…then guided instruction is worth considering.
I offer small-group and one-on-one winter technique courses tailored to your experience level and goals — from your first crampon steps to building the judgment for more committing terrain. Whether you’re targeting your first safe winter ascent or working toward more technical objectives, feel free to reach out.
This article contains affiliate links. Purchases made through these links may generate a referral fee for this site at no additional cost to you. All gear recommendations reflect actual field experience and honest assessment.