【Deep Dive Essays】Bear Safety in Japanese Mountains: Why Behavior Matters More Than Gear
北村 智明
稜線ディープダイブ

The clove hitch (known in Japanese as the Mast Musubi, or “mast knot”) is one of the most frequently used knots in mountaineering. Its applications span everything from pitching a tent to anchoring yourself to a fixed point. But without a clear understanding of how load direction affects its strength, this knot can become a liability. Here is how to use this practical, fast-tying, easily adjustable knot correctly.
Article Information
目次
When learning rope work, many people are drawn to complex knots. But the knots that truly hold up in the field meet a specific set of criteria.
First, they must be fast to tie. In an emergency or in bad weather, complicated steps lead to confusion. With practice, the clove hitch can be completed in around five seconds.
Second, they must allow easy length adjustment. Even once tied, the tension should be tunable. For tent pitching or securing gear, this quality is essential.
Third, they must be easy to untie. Even after bearing a load, the knot should come undone without much struggle — an important quality when breaking camp.
The clove hitch satisfies all of these conditions, which is what makes it rare among knots.
The “clove” in Clove Hitch derives from an Old English word meaning “to split” or “divide.” The name reflects the knot’s shape: a rope that crosses and divides into two. In Japanese, it is called Mast Musubi (マスト結び) — a knot historically used to secure sails to a mast on sailing ships. This history speaks to how long it has been trusted.

Photo by Mathias Reding on Unsplash
The clove hitch shows up across a wide range of situations.
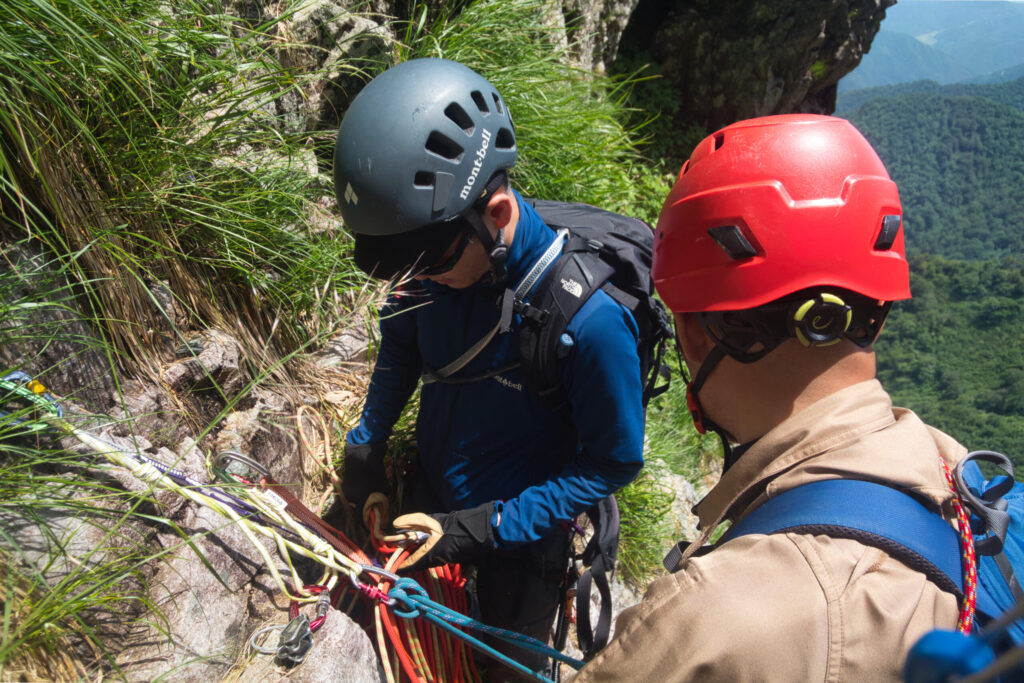
The blue rope tied with a clove hitch
Self-belay setup
Used to anchor yourself to a fixed point (belay anchor). When clipping a main self-belay into a carabiner, the clove hitch allows effortless length adjustment — arguably its most important use case in climbing.
Quick attachment to a carabiner
When speed matters — building a belay system, preparing a haul — the clove hitch lets you clip a rope to a carabiner in moments.
Creating mid-rope anchor points
Useful for building anchor points partway along a rope in stream climbing (Sawanobori, Japanese stream climbing) or on variation routes.
Temporarily securing gear
Attaching items to the outside of a pack or bundling equipment. The ability to adjust tension while tying makes it efficient.
That said, it is not appropriate for every situation. Load direction can dramatically reduce its holding strength. Understanding these limits is the prerequisite for using it safely.
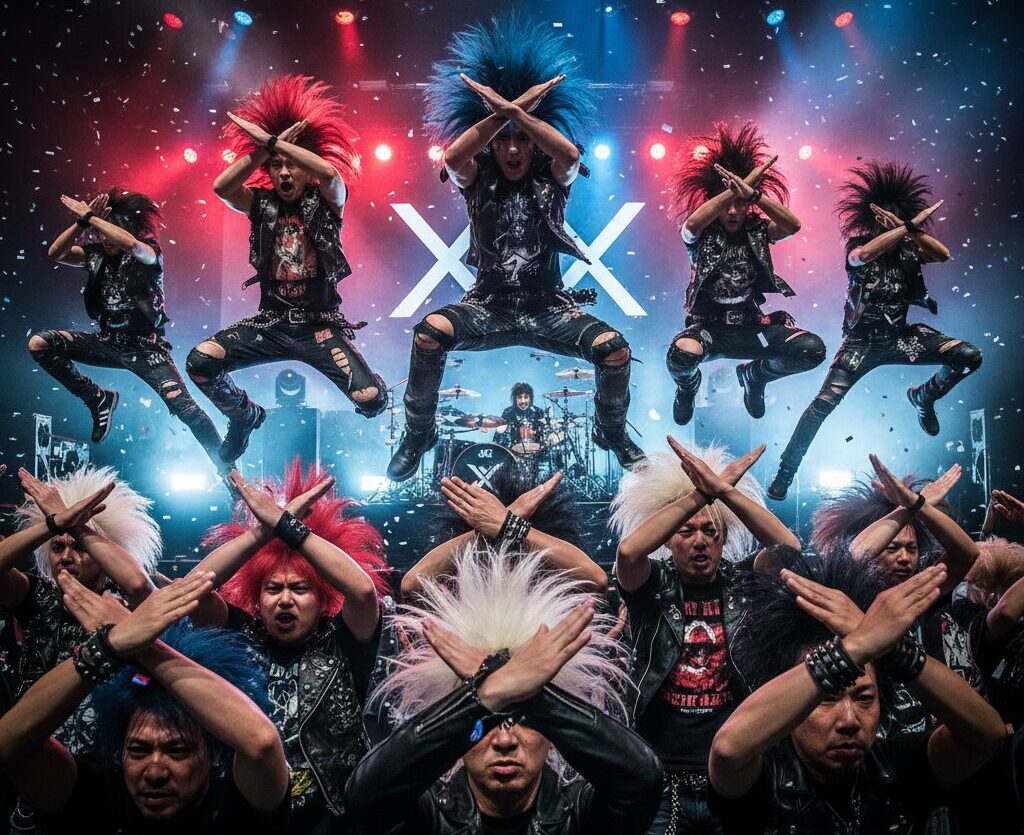
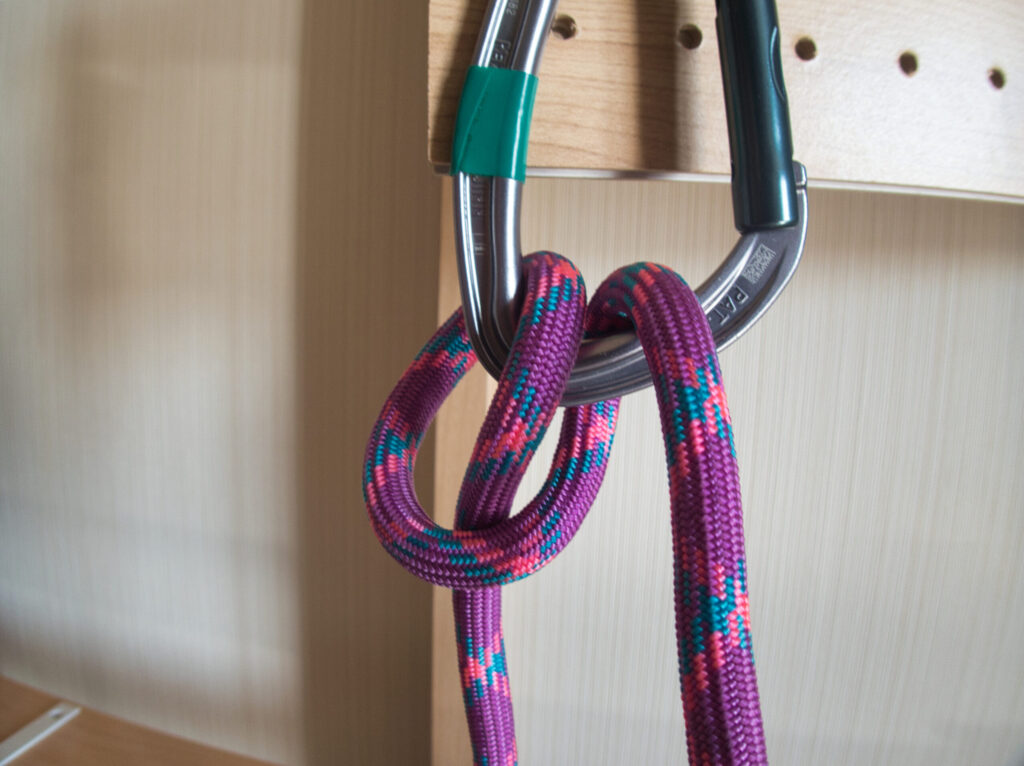
The structure of the clove hitch is simple. Wrap the rope twice around an anchor point — a carabiner or a tree — and lay the second wrap on top of the first. That is it.
The key is the cross. When the two wraps form an X shape, they press against each other, creating friction. That friction is what holds the load.
Check that the wraps form a clear X shape
Another defining characteristic is directionality. When load is applied equally to both ends of the rope, the knot holds steady. But when only one side is loaded, the knot can slip. This is both the knot’s limitation and the source of its adjustability.
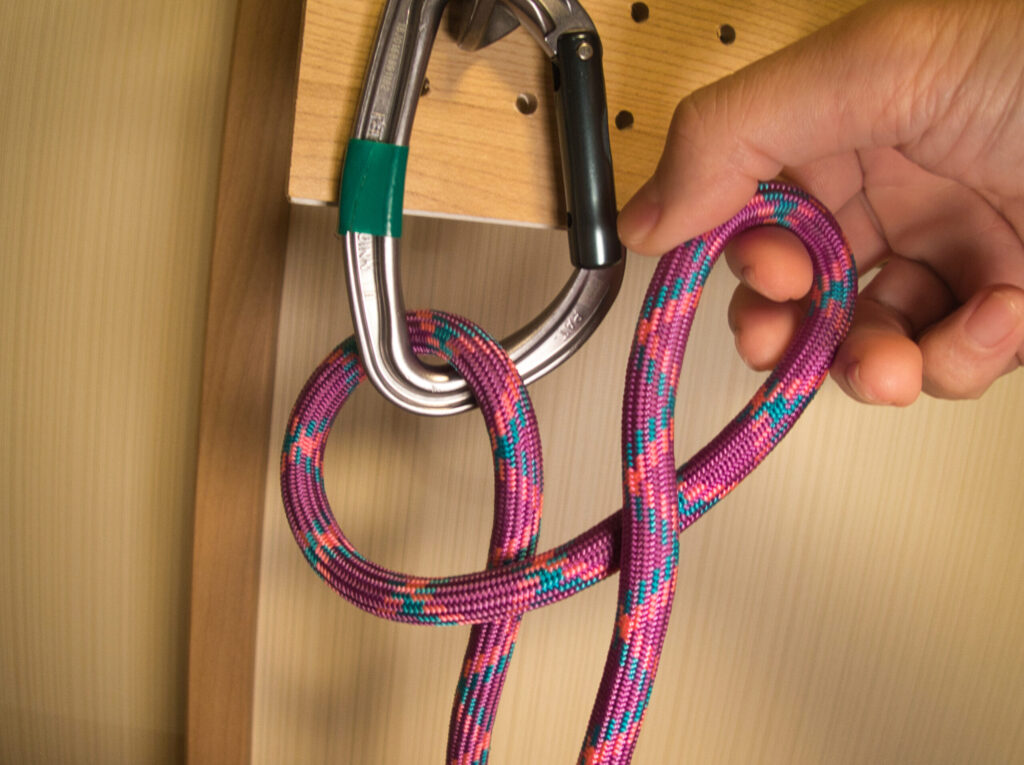
There are several ways to tie a clove hitch. Below is the most fundamental approach: tying it to a carabiner.
Step 1: Form the first loop
Create a loop around the carabiner with the rope. Pay attention to which direction the rope runs — right to left, or left to right — and stay consistent.

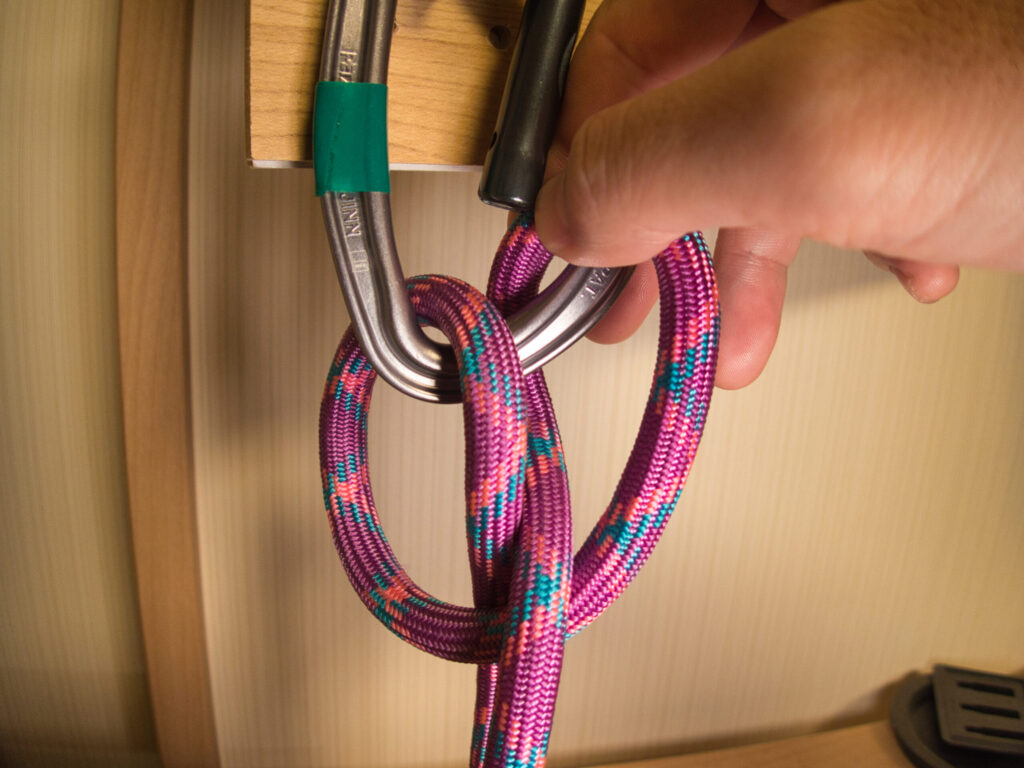
Step 2: Form the second loop
Wrap the rope again in the same direction to create a second loop. Position it so it sits on top of the first.
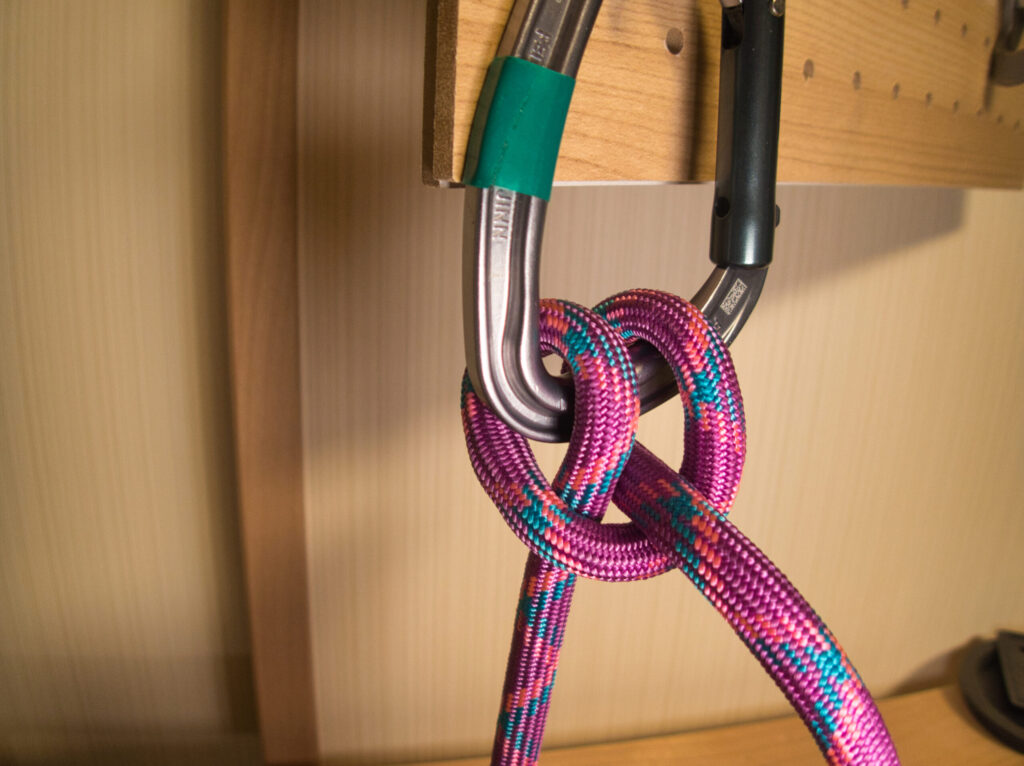
Step 3: Verify the cross
Confirm that the two loops form an X shape. When tied correctly, you should be able to trace the rope as it enters, crosses, and exits the knot in a clean flow.
Step 4: Dress and tighten
Pull both ends of the rope to seat the knot firmly. Pressing it snugly against the carabiner reduces the chance of slipping.
Tying to a tree
The same steps apply when tying directly to a tree. However, because the diameter is larger, the loops need to be formed bigger. Be aware that smooth bark can reduce friction and cause the knot to slip.

Tying in the middle of a rope
It is also possible to tie a clove hitch without a carabiner, mid-rope. Form two loops simultaneously with both hands, stack them, and feed them onto the carabiner. With practice this method becomes extremely fast — an advanced technique, but worth learning.

Once the knot is tied, always verify the following.
The X shape
Are the two loops crossing correctly? A reversed cross dramatically weakens the knot.
Tightness
Is the knot seated firmly against the carabiner or anchor point? A loose knot risks slipping under load.
Load direction
How will force be applied to each end of the rope? If one side will bear a significantly greater load, the clove hitch is not the right choice.
Wrapping in opposite directions
Both wraps must go in the same direction. Reversing the second wrap prevents the X from forming, and the knot will come undone quickly.

An example of an incorrect tie
Second loop behind the first
The second loop must sit on top of the first, not behind it.
Under-tightened knot
If the knot is not drawn snug, the loop can walk along the carabiner under load. For carabiner ties especially, tighten firmly before weighting.
Works well for:
Use with caution:
Do not use for:
The reason these situations are off-limits comes down to the structural nature of the knot itself.
Vulnerability to one-sided loading
With equal load on both ends, the clove hitch is stable. With load on only one side, the knot can migrate along the anchor. This is what makes it both adjustable and unreliable under asymmetric force.
Vulnerability to dynamic loading
The knot performs well under static load, but movement and vibration can cause it to gradually loosen.
Directional constraint
Both ends of the rope should exit the anchor in roughly opposite directions. Unconventional angles can destabilize the knot.
Add a backup
For situations that matter, follow the clove hitch with a half hitch — simply wrap the tail once more around the standing line. Minimal effort, meaningfully improved security.
Equalize the load
When possible, arrange the setup so force is distributed equally to both ends. In tent pitching, adjusting the angle of the guylines helps achieve this.
Set the knot firmly before loading
Tighten the knot thoroughly before applying weight. This single step significantly reduces the chance of slippage.

Choose the right knot for the situation
When the clove hitch is not the right tool, don’t force it. A bowline or figure-eight knot will serve better in high-stakes situations.
Scenario 1: Pitching a tent
Attaching a guyline to a peg. Tie a clove hitch to a carabiner and clip it to the peg. Adjust tension while tuning the tent’s pitch. Load is static and distributed to both ends — a textbook clove hitch situation.
Scenario 2: Attaching gear to a pack exterior
Securing an item to the outside of a backpack. Tie a clove hitch through the pack’s loops and adjust the rope while tightening around the item.
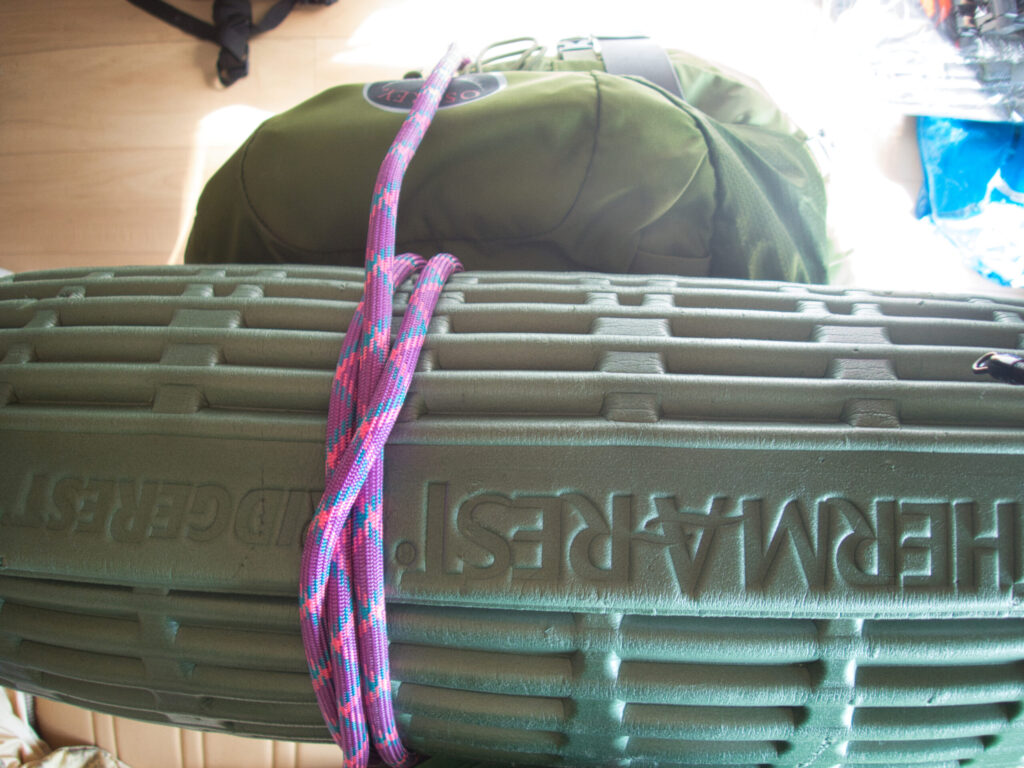
A sleeping mat lashed to the top of a pack
The load is relatively light and not life-critical. The easy release is also an advantage — an appropriate use case for the clove hitch.
Scenario 3: Brief rest stop anchor
On a steep slope, you want to tie off to a tree while you stop to rest. A clove hitch around the trunk, connected to your harness or chest.

This is a supplementary anchor, not a full life-safety system. Even so, adding a half hitch backup is the prudent choice.
Scenario 4: A situation where you should NOT use it
Catching a fall load in a climbing scenario. Never. The clove hitch is not designed to absorb dynamic impact. Use a figure-eight knot or other reliable anchor knot instead.
The clove hitch is easier to master than the bowline. Its structure is simple, and the steps are few.
At home, practice repeatedly with an 8mm training rope and a carabiner. The goal: tie it correctly in under five seconds without looking.
Once that feels natural, expand the practice:
The greatest advantage of the clove hitch is that length can be adjusted after the knot is tied.
How it works
Pull one end of the rope and that side lengthens; the other shortens. The knot slides along the anchor.
Important note
The load must be fully removed before adjusting. Under weight, friction locks the knot in place.
In practice
Setting up a tarp and the guyline is slightly off. With the clove hitch, there is no need to untie and retie — adjust on the spot. This efficiency is a genuine advantage in the mountains.
Once you have the clove hitch dialed in, the next progression is the Munter Hitch (half-cleat hitch, Han-Mast Musubi).
The Munter Hitch shares a similar structure but uses rope friction as a belay device — useful as an emergency belay when a dedicated device is unavailable.
This is an intermediate-level technique. Fully master the clove hitch first before moving on to this one.
The Munter Hitch (Han-Mast Musubi)
During practice, verbalize each check aloud:
“Are the two loops crossing in an X?”
“Is the knot tight?”
“Is the load direction correct?”
This habit translates directly into field safety.
Start in low-stakes situations
Begin with applications like securing gear or pitching a tent — nothing life-critical. Once comfortable, move toward supplementary anchors and similar uses.
Always double-check
After verifying your own work, have an experienced partner look it over if possible. This is especially important the first few times you use the knot in a real setting.
The right knot for the right situation
When the clove hitch is not the right choice, don’t default to it. Developing the judgment to pick the appropriate knot — bowline, figure-eight, or otherwise — is what separates a skilled rope user from a novice.
What the clove hitch does:
Where it works — and where it doesn’t:
For safety, always:
Clove Hitch vs. Bowline
Clove Hitch vs. Figure-Eight
Each has its domain. Developing the judgment to know which to use is the key to advancing your rope skills.
Once the clove hitch is fully internalized, the natural next step is the figure-eight knot. With the bowline, clove hitch, and figure-eight in your repertoire, you can handle the vast majority of situations encountered in general mountaineering.
The clove hitch is practical and useful. But precisely because it is convenient, it must not be over-trusted. Using it correctly, in the right situations, is what matters.
And above all: the best rope work is the kind you never need to use. Sound route selection and careful movement can often keep you from reaching for the rope at all.
But being prepared for the moment when it becomes necessary expands the range of what you can safely do in the mountains. If this guide serves as one step toward safer, more capable mountain travel, that is enough.
Gear for Practice
Reference Books
この記事にはアフィリエイトリンクが含まれています。